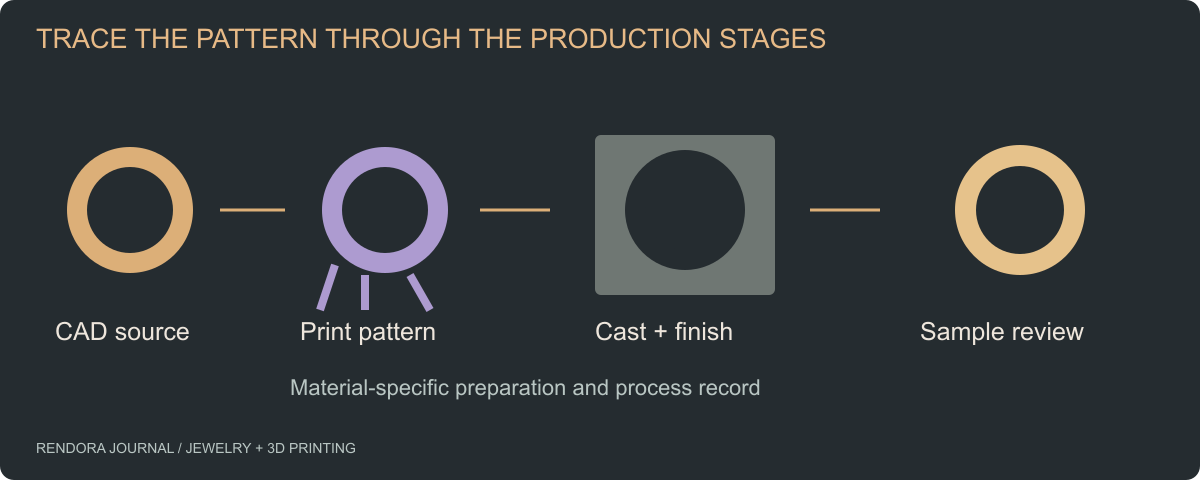
A castable-resin workflow connects approved geometry, a material-specific print preparation, cleaning and any required cure, spruing, investment, burnout, casting and finishing. Record each stage against the same design revision and use instructions for the exact resin and equipment.
The printer makes a pattern. The casting process turns the pattern’s geometry into a metal piece. A clean-looking print is an important intermediate result, but the workflow has several later decisions that determine the finished outcome.
The practical goal is repeatability: when a result is good, you know what produced it; when it is wrong, you know which stage to investigate.
Select the route before preparing the file
Decide whether the next object is a fitting prototype, a mold master or a sacrificial casting pattern. Materials sold for those roles are not interchangeable. A useful supplier request names the role, design revision, target alloy, quantity and finish.
3D Systems separates jewelry prototyping and master-pattern applications from casting-pattern production. [1] Use the same distinction in your project record. A customer fitting model may answer a comfort question without being the pattern that goes into the flask.
Keep preparation instructions material-specific
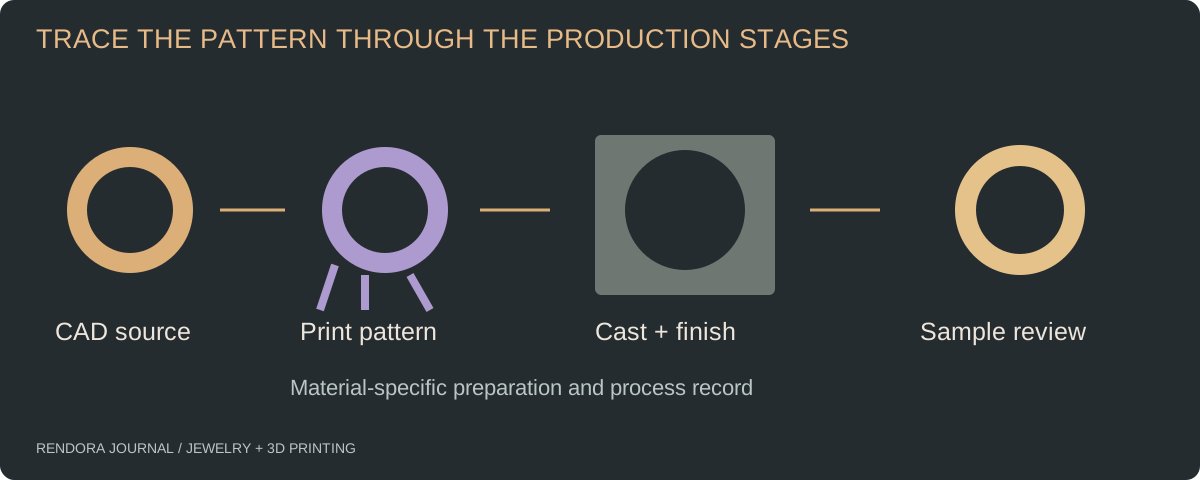
Two manufacturers’ workflows illustrate why a generic checklist needs an exact process profile. Formlabs states that its Castable Wax Resin does not require post-curing after washing. B9Creations’ casting guide includes a post-curing stage with recommendations for its equipment and materials. [2][3]
The correct response is not to average those instructions. Record the exact resin, printer and applicable guide, then follow that combination. Capture material version or batch information where it affects the supplier’s procedure.
| Stage | Record with the job | Acceptance question |
|---|---|---|
| Geometry | File hash, dimensions and revision | Is this the approved piece? |
| Print preparation | Orientation, support file and material profile | Are critical surfaces protected and accessible? |
| Pattern preparation | Wash and cure procedure where applicable | Was the material’s preparation completed? |
| Casting preparation | Sprue layout, investment and process reference | Does the maker accept the route for this geometry? |
| Casting and finish | Batch identifier and finishing operations | Does the finished sample meet the agreed criteria? |
Plan support removal as part of the surface brief
Mark visible surfaces, stone seats and other critical regions before supports are finalized. Ask where contact marks will be removed and how the operator will reach them. A support that stabilizes a print may create cleanup work in a difficult location.
Keep a preparation screenshot or file with the job, using the actual geometry revision. If the designer later moves a gallery or changes a shank, review whether the existing supports remain appropriate.
Separate supports from the casting feed system. Print supports hold the pattern during printing; sprues serve the casting process. Have the casting operator approve the feeding strategy rather than assuming that every printed connection can serve both purposes.
Record a process reference instead of copying a universal burnout schedule
The burnout program depends on the chosen pattern material, investment and process conditions. Identify the supplier’s applicable instructions and have the casting operator record the job-specific program and responsible operator.
This makes a later resin substitution visible. A purchase change can become a process change, even when the CAD is identical. Retain the material and procedure relationship rather than treating “castable” as one universal setting.
If a supplier changes the procedure, issue a new process record and identify which jobs it covers. Do not overwrite the history of a successful or failed sample. The comparison is useful only when both the geometry and the process version are known.
Investigate defects by stage
When a feature is missing in metal, first compare the CAD, exported mesh and printed pattern. If the pattern already lacks it, investigate geometry, preparation and printing. If the pattern has it, examine the later casting and finishing stages with the manufacturer.
For a dimensional mismatch, record dimensions at defined stages rather than writing “shrinkage” beside the final result. The fitted target, CAD dimensions, pattern dimensions and finished dimensions provide a much clearer diagnostic chain.
For a surface problem, mark its location in comparable views and record whether it follows a support contact, a design recess or a finishing area. Avoid changing several process variables at once during a controlled sample review; otherwise a better result may not reveal which change helped.
Approve a representative sample before repeating the job
Choose a sample that includes the design’s difficult features, not merely the easiest piece in the collection. Agree in advance which dimensions, surfaces and setting features will be inspected and who will make the decision.
The process traveler leaves operating values and results blank for the actual job. Attach the maker’s procedure and sample evidence instead of treating a checklist as a recipe. Use the feature review guide to define the geometry checks and the handoff guide to close the review.
Rendora’s jewelry tool helps keep the candidate mesh and supplied evidence tied to a configuration. Record physical production results with the manufacturer and link them to the same source revision.
Casting workflow questions
Is castable resin the final jewelry material?
In this workflow it is a sacrificial pattern material. The final metal and finishing route are separate specifications. Confirm which object the supplier is quoting.
Should every castable print be UV-cured?
Follow the exact material’s instructions. Published manufacturer workflows differ, so do not copy a cure step from another resin’s guide.
What should I retain from the first successful sample?
Keep the geometry hash, preparation file, material identity, applicable procedure, production batch record, measured results and acceptance decision. That package is the starting point for a repeat order.
References
[1] 3D Systems: Jewelry Prototyping — prototype and master-pattern applications.
[2] Formlabs: Using Castable Wax Resin — material-specific preparation and post-curing requirements.
[3] B9Creations: Casting Guide for Jewelers — printing, pattern preparation and casting stages.
About the author
Rendora Journal covers configurable assets, production checks and traceable delivery workflows.