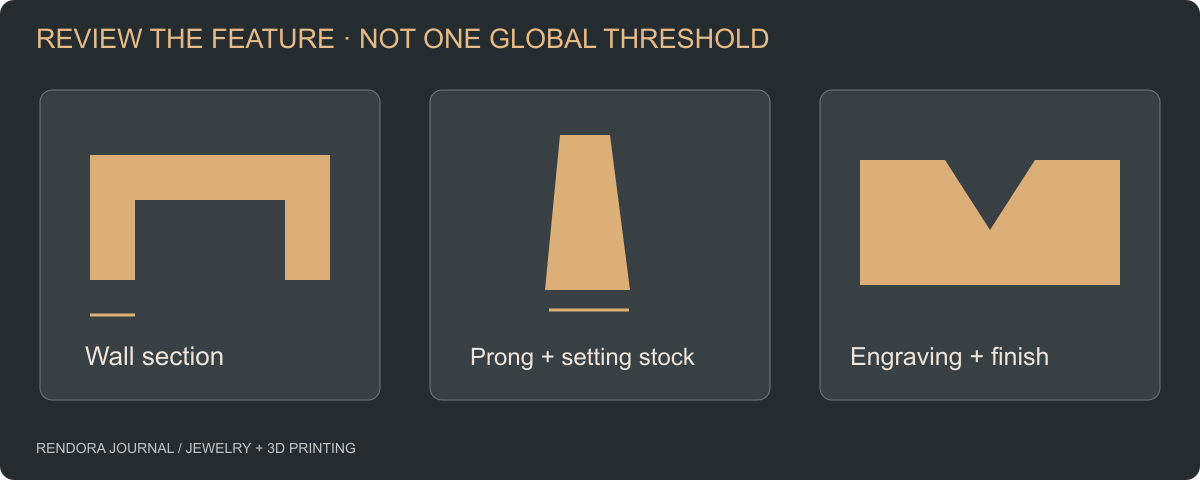
Choose thickness requirements for the specific feature and manufacturing process. Measure the actual wall, wire, prong or engraving, record the supplier rule, then check that the feature survives printing, handling, casting and finishing. One minimum value cannot describe the whole piece.
A pendant’s broad back wall and a long unsupported decorative wire may share the same smallest dimension but behave differently. A wall that survives printing may still lose useful stock during finishing. Start with the feature’s job and the operations it must survive.
Use a process profile, not an isolated number
Identify the printer, exact material, preparation procedure, casting route, alloy and finishing requirement. Then collect the relevant supplier instructions. Keep their document revision or access date with the review.
For example, Sculpteo’s published sterling-silver casting guidance lists 0.8 mm for walls and 1 mm for stemmed elements and certain constrained features. [1] These are that service’s published design conditions, not default thresholds for every resin printer, alloy or piece of jewelry.
| Feature | Measurement to capture | Review beyond the dimension |
|---|---|---|
| Broad wall | Minimum section and its location | Load path, finishing and handling |
| Decorative wire | Diameter, unsupported length and connections | Support access and removal |
| Prong | Section at critical points and available setting stock | Stone geometry and setter’s method |
| Engraving | Stroke width, depth and local surface | Legibility after finishing |
| Gap or channel | Smallest clearance and access route | Cleaning, resin removal and intended movement |
Record the minimum at the actual narrow section. Measuring a convenient nearby area can miss a thin neck at the point where a shoulder joins the head.
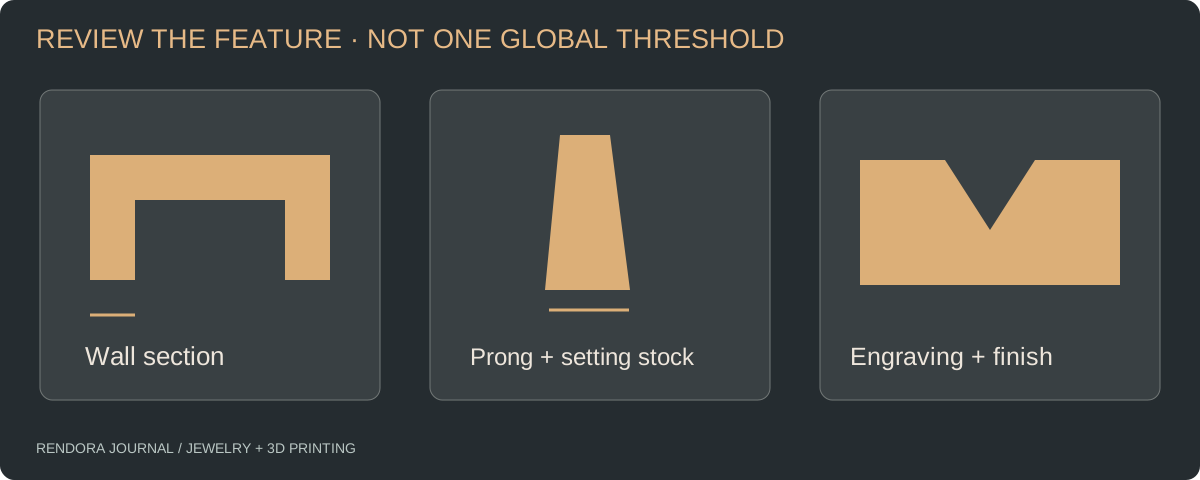
Why prongs need a separate conversation
A prong has to accommodate the stone and the setting operation, not merely appear as a visible spike in a render. Ask the setter which geometry is required before and after setting. Record the actual stone dimensions and identify which operations happen after casting.
Avoid specifying prongs using a stock image alone. A top view may hide the section where a seat will be cut. Include a side section, available stock and the measured stone envelope in the handoff.
If the design changes stone shape or size, revisit those sections rather than copying the last accepted values. For resizing the shank, preserve the accepted setting requirements and review the transitions; the ring-sizing article shows the effect of scaling everything together.
Keep print details separate from finishing details
Identify which surfaces must remain crisp, which will be polished and where support removal is acceptable. An engraving can be present in the mesh but become hard to read after finishing. Specify the accepted finished appearance and the stage at which it will be reviewed.
Ask the manufacturer to identify the surfaces on which they expect to remove stock. Use local sections rather than adding an unexplained allowance to the whole model. If a detail is central to the design, approve a representative sample before committing the full batch.
Your sample record should include the source revision, preparation file, material, process settings, finishing route and measured result. Without those fields, a successful sample is difficult to repeat and a failed sample is difficult to diagnose.
Measure and classify the finding
Work through a feature register. Give each location a stable ID, such as W01 for the lower shank or P03 for a specified prong. Attach a section view, record the measured value and cite the process rule being applied. Assign the decision to the person responsible for that process.
An illustrative finding might say: “W01 measured 0.72 mm; receiving service requires 0.8 mm for this wall; designer to revise the local section and return a new export.” It is clearer than coloring the whole model red. This example applies a published service requirement for explanation; it is not a measurement from a customer file.
After a change, recheck nearby gaps and the outer silhouette. Thickening inward may reduce finger or stone clearance; thickening outward may alter the accepted appearance. Record the direction of the edit and show the affected views.
Distinguish measured evidence from a declaration
A report should say how a value was obtained. “Minimum wall 0.8 mm” might be a supplier requirement, a CAD measurement or a value typed into a form. Those meanings are different.
Rendora’s jewelry tool retains supplied evidence with source-linked outputs. Its current STL closure check does not independently measure every wall or clearance. Attach the CAD sections or manufacturer review that establishes those values, and keep the source revision identifiable.
Use the feature register to connect requirements, measurements and decisions. Continue with mesh checks when the geometry is revised and with the casting workflow when the process is selected.
Questions about minimum thickness
Is printer resolution the minimum wall thickness?
No. Resolution describes an aspect of the printing system; a feature must also survive its geometry, preparation and later operations. Use the selected process’s design guidance for that feature.
Can I fix every thin area by adding material inward?
Check the neighboring clearance first. Inward changes can interfere with a stone, finger opening or assembly. Decide the edit direction with the relevant design constraint visible.
Who should approve the final prong geometry?
Include the designer and the person responsible for setting and production. Identify the stage being approved and retain the stone measurements and relevant sections with that revision.
References
[1] Sculpteo: Sterling Silver Material and Design Guidelines — service-specific wall and stemmed-element requirements; reviewed October 20, 2026.
About the author
Rendora Journal covers configurable assets, production checks and traceable delivery workflows.