In this guide
Review support placement against the surfaces and interfaces you need to preserve, not just whether the slicer accepts the job. Identify visible regions, stone-bearing features, thin details and removal access before approving an orientation. A successful print with damaged critical surfaces can still be a failed pattern.
Keep the source revision, printer, material profile and proposed orientation together. A support plan prepared for a different resin or part geometry is a reference, not an instruction to copy unchanged.
Mark protected regions before generating supports
Ask the designer and bench team which regions control appearance or later operations. Include the inside of a band, visible shoulders, narrow decorative features and the setting interfaces that will need subsequent work. Mark areas where a support contact can be finished and areas where removal would alter the design.
| Region | Question before printing | Evidence after removal |
|---|---|---|
| Display surface | Can the contact be finished without changing the form? | Surface observation at the same view |
| Thin detail | Can it tolerate removal access? | Detail retained or damaged |
| Setting region | Would contact interfere with the intended bench operation? | Setter or bench review |
| Hidden face | Is removal still accessible? | Actual access and residual mark |
Formlabs’ casting-pattern guide describes orientation choices that depend on material and part type.1 Use the current guide for the actual printer/material route instead of treating one ring angle as a universal prescription.
Compare orientations by the problem they move
An orientation change can move contacts away from a visible face while introducing other concerns. Compare supported regions, expected removal access and the location of fine features. Keep the geometry unchanged during that comparison so the effect of orientation is visible.
Document why the selected arrangement is preferable. “Automatic supports” identifies a generation method, not an acceptance decision. Have the operator review disconnected details and difficult removal locations before sending the job.
Print a bounded pilot
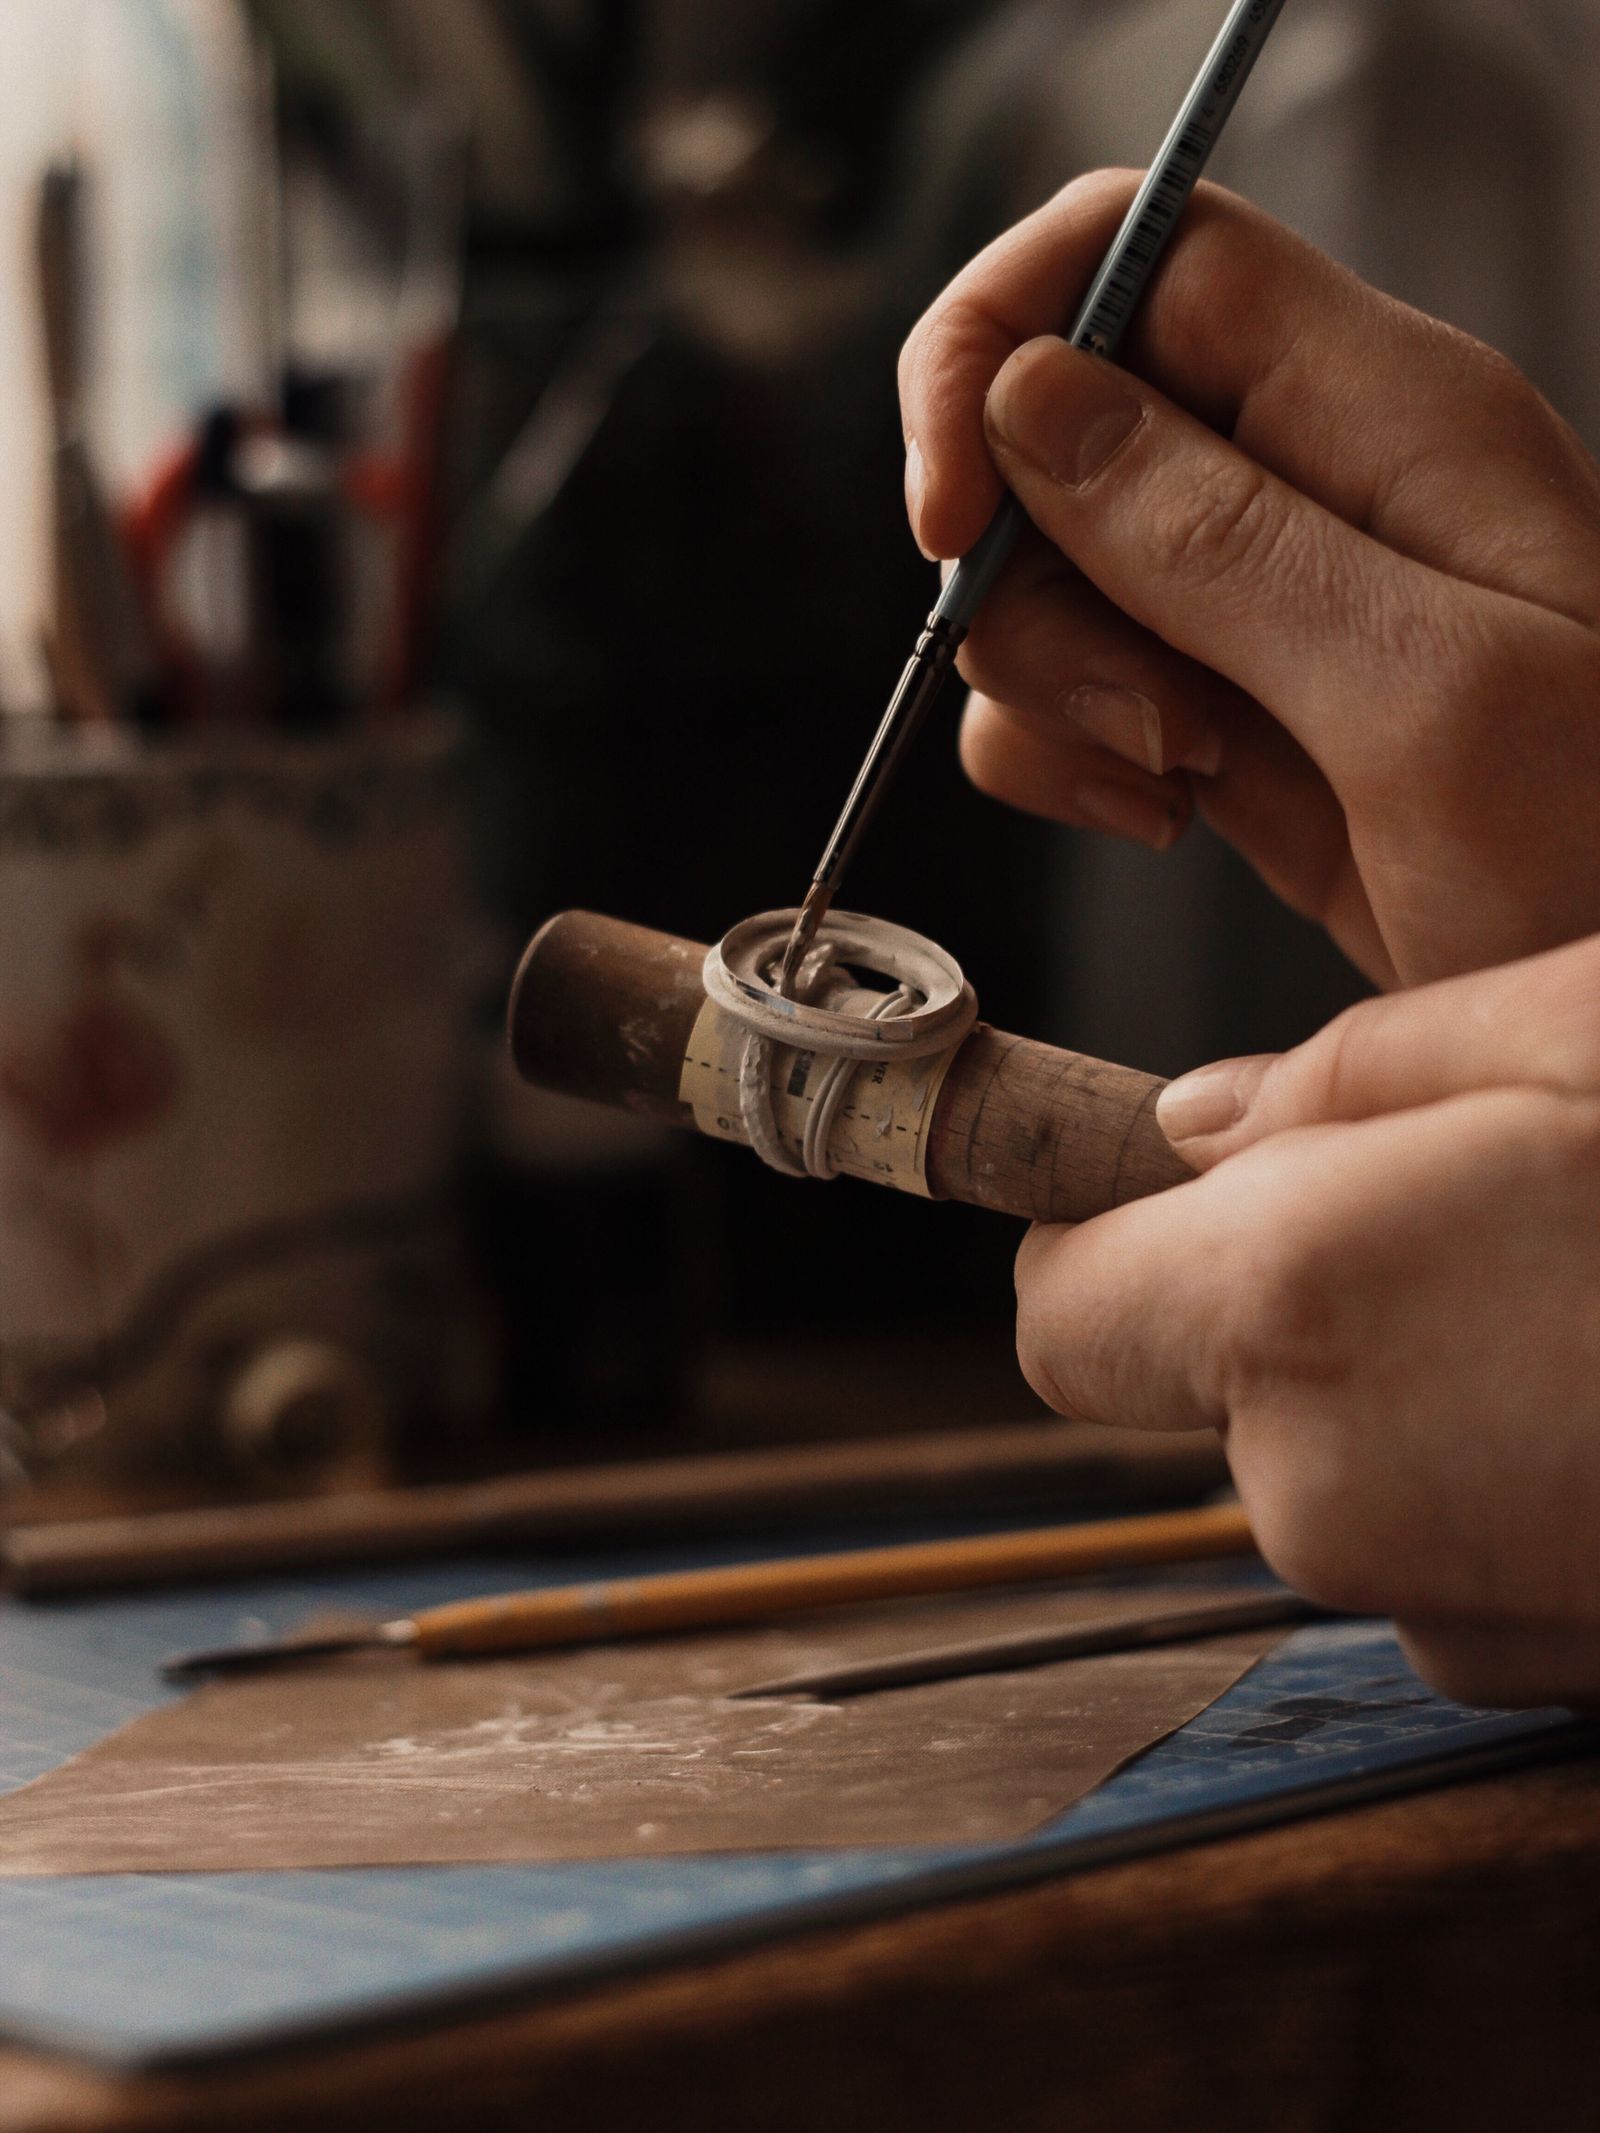
Choose a representative difficult feature rather than immediately printing every size. Retain the actual preparation file and source hash. After printing and the material-specific post-processing, inspect the pattern at identified views and with the bench team’s agreed method.
Record whether a defect appeared during printing, support removal or later finishing. A broken detail does not automatically prove the CAD was too thin; its position, support relationship and handling history also matter. Link any proposed geometry correction to the evidence that motivates it.
Separate contact correction from design change
Moving a support contact changes preparation. Thickening a prong or changing a decorative ridge changes the design source. Those actions need different review owners. Preserve the original source and issue a new revision when geometry changes, then rerun the relevant wall and detail checks.
The support-review worksheet records protected regions, proposed contacts, removal observations and retest revisions. Its observation fields are empty until a real pattern has been reviewed. Keep the result with the casting handoff.
What the delivery should contain
Send the source and prepared-job identifiers, orientation images, protected-region notes and actual pilot findings. If another operator changes the preparation, require an identified revision rather than overwriting the approved arrangement.
Use the Rendora jewelry entry to inspect the available source-to-delivery evidence. Support design and print execution belong to the actual preparation workflow; the recorded manufacturing evidence should identify who performed them.
Should support marks always be hidden?
Prefer locations compatible with the intended finishing route. A hidden but inaccessible contact can be worse than an accessible contact on a finishable region.
References
- Formlabs, Introduction to casting for 3D printed jewelry patterns, reviewed October 26, 2026.
About this guide
Rendora publishes practical guides for teams working with configurable 3D assets and traceable production handoffs. Updated October 27, 2026.