Measure the room’s fixed geometry before placing furniture: wall lengths, openings, ceiling changes and permanent obstructions. Record where every measurement starts, keep units consistent and reconcile the sketch before building the 3D layout.
A room photograph can communicate atmosphere while hiding the dimension that decides whether a cabinet fits. A rental listing plan can also omit a radiator, recess or door swing. The first useful design asset is therefore a measured record, not a decorated image.
Give every wall and opening an identity
Draw a rough outline and label the walls in a consistent order. Choose a reference corner so door and window positions are measured from a known point rather than described as “near the left.” Note the room name, survey date and who took the measurements.
Use one unit system throughout the record. If a supplier works in another system, keep the original measurement and an explicitly converted value. Do not alternate feet, decimal feet and inches in unlabeled cells.
IKEA’s room-measuring guide includes wall dimensions, ceiling height and the position of doors and windows as planning inputs. [1] Extend that record to the fixed features that matter to your particular room.
Measure the features that can block the design
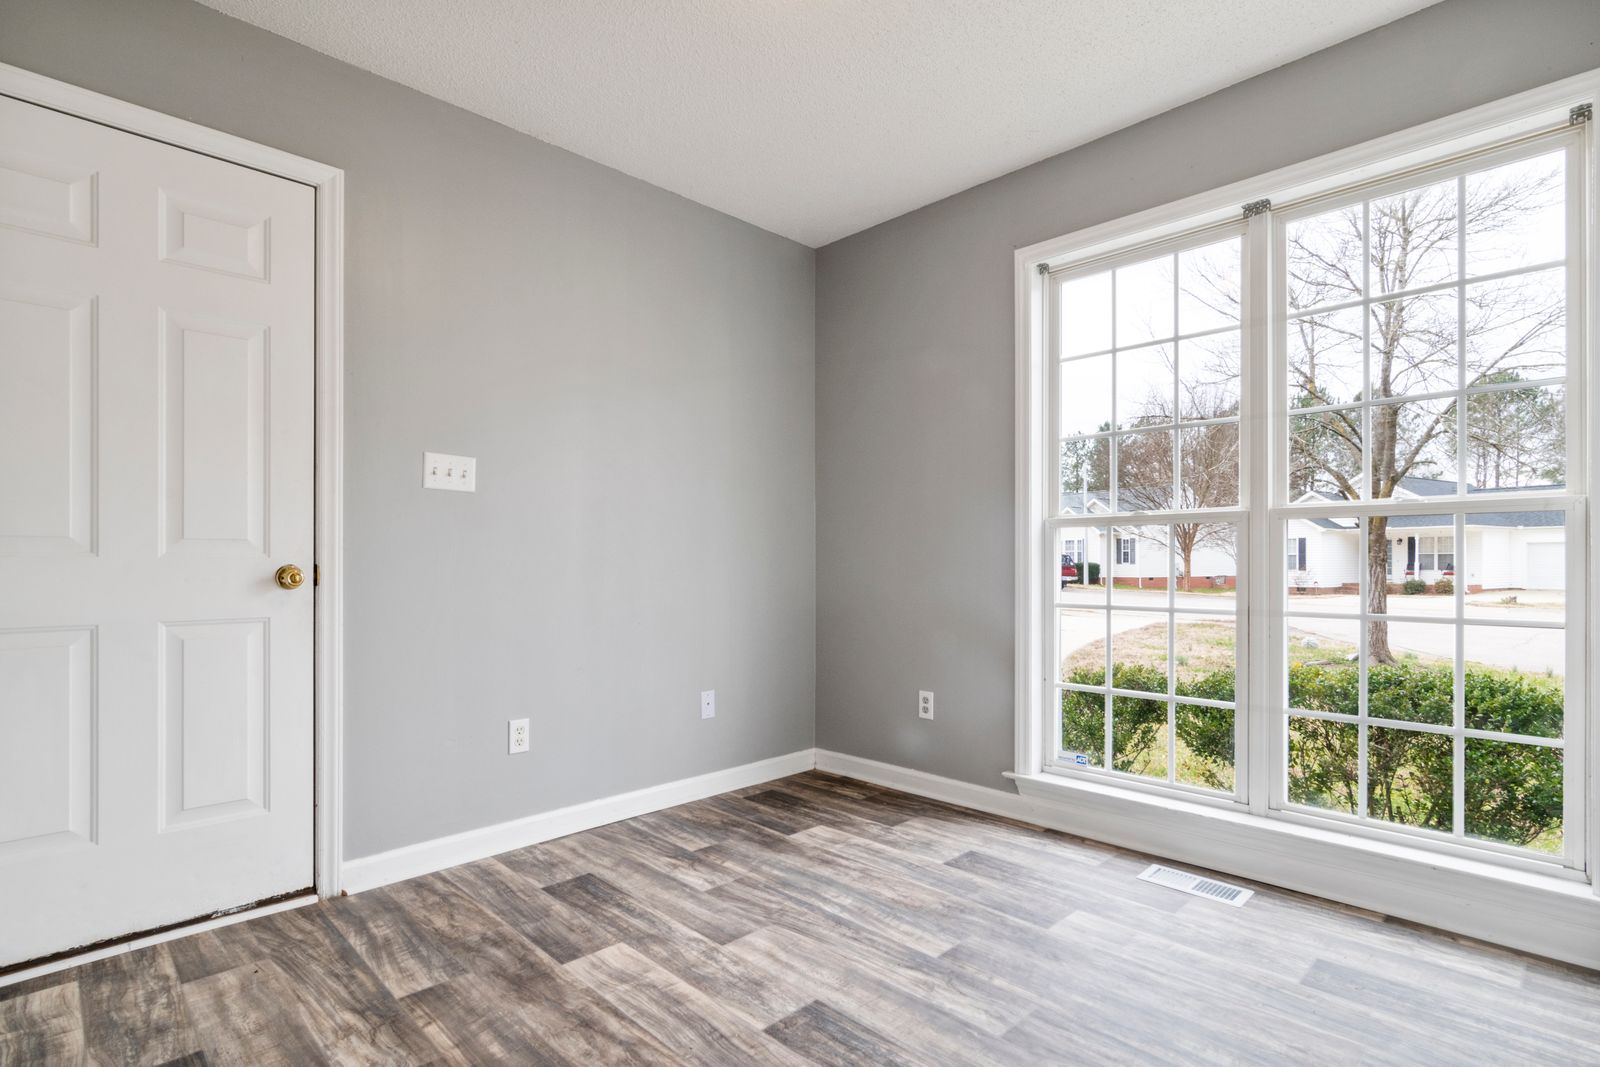
Capture the overall dimensions, then the local conditions. A wall can be long enough for a bookcase while a switch or baseboard prevents the intended installation.
| Feature | Record | Why it matters |
|---|---|---|
| Wall | Length and changes in direction | Establishes the room outline |
| Door | Opening, position and swing | Affects access and furniture movement |
| Window | Position, width and relevant heights | Affects tall furniture and window treatments |
| Fixed obstruction | Footprint, projection and height | Can reduce usable space |
| Ceiling | Height, slopes and dropped areas | Affects tall units and lighting |
| Services | Outlets, vents and access requirements | Affects use and maintenance |
Photograph each wall and label the images to match the sketch. Include detail photographs where a feature would otherwise be unclear. Keep measured values in the record; do not expect a viewer to recover them from image proportions.
Reconcile the outline before furnishing it
Check that the segments on a wall account for the total length. If a door position was measured from one corner and a window from another, reconcile the two reference chains before transferring them to software.
For an apparently rectangular room, a diagonal check can help reveal that the shape is not what the sketch assumes. Record discrepancies and remeasure them. Do not force a room into a perfect rectangle merely because the planner starts with one.
For fitted cabinetry or work that depends on construction tolerances, agree the survey and verification responsibility with the installer. A general furnishing sketch and an installation survey serve different tasks.
Transfer the record without losing its reference points
Enter the room outline first, then openings and fixed objects. Confirm a known wall dimension after import or tracing. RoomSketcher’s floor-plan guidance distinguishes wall lengths, room dimensions, opening measurements and distances between items. [2] Use the dimensions needed for the current decision rather than a drawing filled with unreadable labels.
If you trace an existing plan, retain its source and revision. Check at least one known dimension and inspect other directions for distortion. A stretched image should not become the authority for purchasing furniture.
Record which dimensions are measured, supplied by a third party or still estimated. When the missing information arrives, update the source and identify affected placements instead of silently replacing the original values.
Make a first usable handoff
The package should contain the labeled sketch, dimension register, fixed-feature photographs and open questions. That is enough to start a furniture-fit review or a 2D-to-3D blockout with a clear basis.
Rendora’s interior tool uses supplied room dimensions and item footprints for configuration-linked placement handoffs. It does not extract a verified survey from a room photograph. Enter the measured inputs and retain the source alongside the proposed layout.
Download the room measurement register and complete it before selecting furniture. Leave unresolved dimensions visible so the design team knows where a check is still needed.
Can I use the estate agent’s plan?
Use it as a starting reference. Verify the dimensions and fixed features that control the design, and keep the listing plan separate from your measured revision.
Should I measure the room with existing furniture inside?
Record the fixed room geometry first and identify items that will remain separately. If furniture blocks a measurement, mark that value for follow-up rather than disguising an estimate as a measurement.
References
[1] IKEA: Guidelines to Measure Your Room — room outline, heights and openings.
[2] RoomSketcher: 2D Floor Plans — measurement types and readable plan outputs.
About the author
Rendora Journal covers configurable assets, production checks and traceable delivery workflows.