
The ZIP downloads and every thumbnail looks sharp. That does not tell you whether the walnut picture belongs to the oak SKU or whether the gallery contains the current chair revision. The last review should answer those questions before customers do.
Approve product identity first, then image quality, SKU mapping and channel behavior. A sharp, correctly sized picture can still be the wrong variant. A correct product picture can still be unsuitable for a particular placement. Review both before publishing.
This checklist is for the moment when the files have arrived and somebody needs to decide whether the listing can go live. It applies to photographs, rendered images and edited candidates. It does not certify compliance with every marketplace or promise that a passing image will improve rankings.
Gate 1: Is this the actual item for sale?
Compare the image with the approved catalog record and product references. Check the visible finish, construction, dimensions where shown, included parts and accessories. If the room scene includes props, make it clear what the customer receives.
Pay extra attention to edited images. A background change can also alter an edge, logo, seam or shadow. Do not approve the product merely because the scene looks plausible. Return any unresolved discrepancy to the product owner.
| Check | Pass condition | Action if it fails |
|---|---|---|
| Product revision | Matches the approved current item | Replace or clearly separate the outdated source |
| Material and color | Matches the approved reference and name | Request correction or product-owner decision |
| Included parts | Image and offer agree | Clarify props or change the picture |
| Visible details | No invented or missing features | Compare with source and correct |
| Dimensions annotation | Uses approved measurements and units | Remove unsupported numbers |
If the product evidence itself is incomplete, use the supplier model checklist or furniture brief. Image polish cannot repair missing product facts.
Gate 2: Can a shopper inspect it clearly?
Open the actual downloaded file, not just its thumbnail. Check normal page size and an enlarged view. Look at narrow legs, stitching, text, corners and reflective edges. Large pixel dimensions do not guarantee real detail if a small source was enlarged.
Check the crop on a phone. Confirm that the product has enough margin and that a collection thumbnail does not cut off a defining component. Compare other images in the same catalog so one item does not look much larger simply because it fills more of the frame.
For transparent sources, check the final background. White flattening does not remove a photographed room or unwanted objects. It fills transparent regions; background removal is a separate operation. If a platform needs a clean product picture, supply a suitable approved source.
Gate 3: Does every file belong to the right SKU?
Reconcile the package with the catalog, one-to-one. Record the product, SKU, configuration, view and file. Look for duplicate filenames, swapped finishes and a mapping that refers to a different source revision.
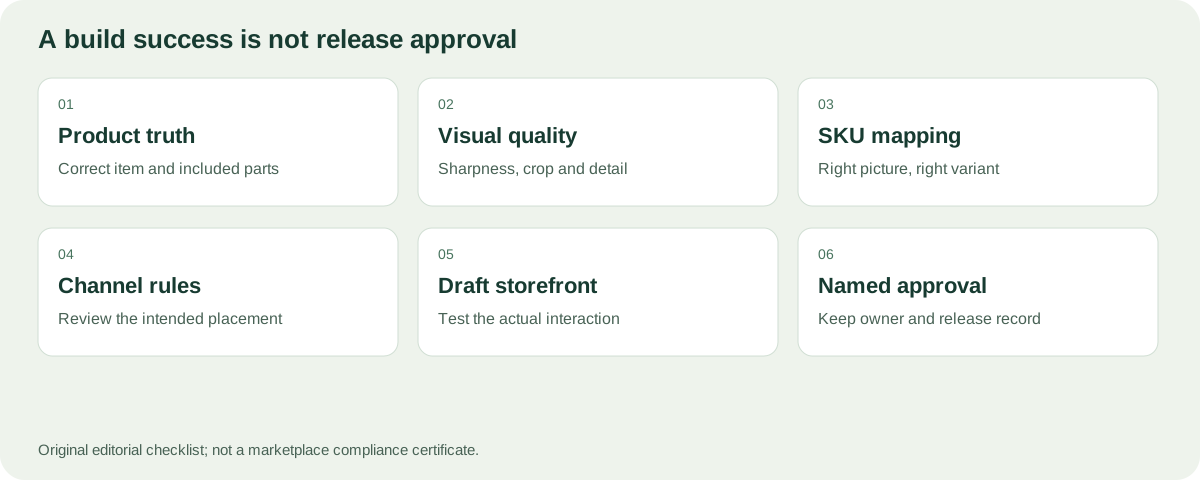
Each gate answers a different release question: correct product, clear image, right mapping and suitable placement.
The JPG and WebP in a package may be alternative encodings of the same image, not two different product views. Do not count them as separate photographic coverage. Use the variant image guide to resolve ambiguous finish names or unsupported combinations.
Download the release checklist. Keep failures open with an owner and action. A column of unchecked boxes is more honest and useful than a generic “approved” badge that nobody can explain.
Gate 4: Does the destination accept this use?
Check the requirements for the actual placement: storefront gallery, main shopping-feed image, advertisement or email. They are not interchangeable. A promotional banner may be useful in advertising while unsuitable as the main product image in a shopping feed.
Google Merchant Center’s image-link guidance restricts promotional overlays and asks for a clear view of the item.[1] Check its current requirements directly rather than relying on an old universal-size checklist. The live page also contains announced future changes; record which effective date applies to your launch.
For Shopify, verify the store’s image and media requirements and how the theme displays the files.[2] A channel selected in a production brief is a destination label, not evidence of acceptance by that platform.
Gate 5: Does the draft listing behave correctly?
Upload to the merchant’s draft or preview workflow. Check gallery order, the initial image, variant changes, image detail and cart selections where applicable. Test an ordinary phone as well as your desktop.
For wrong-color behavior, follow the Shopify variant image troubleshooting guide. Fixing the source file, assigning an image and configuring a filtered gallery are separate jobs.
Do not delete the previous accepted files until the replacements have passed review. Keep a release record so the team can identify which picture was live if a customer reports a discrepancy later.
Inspect the details most likely to be lost
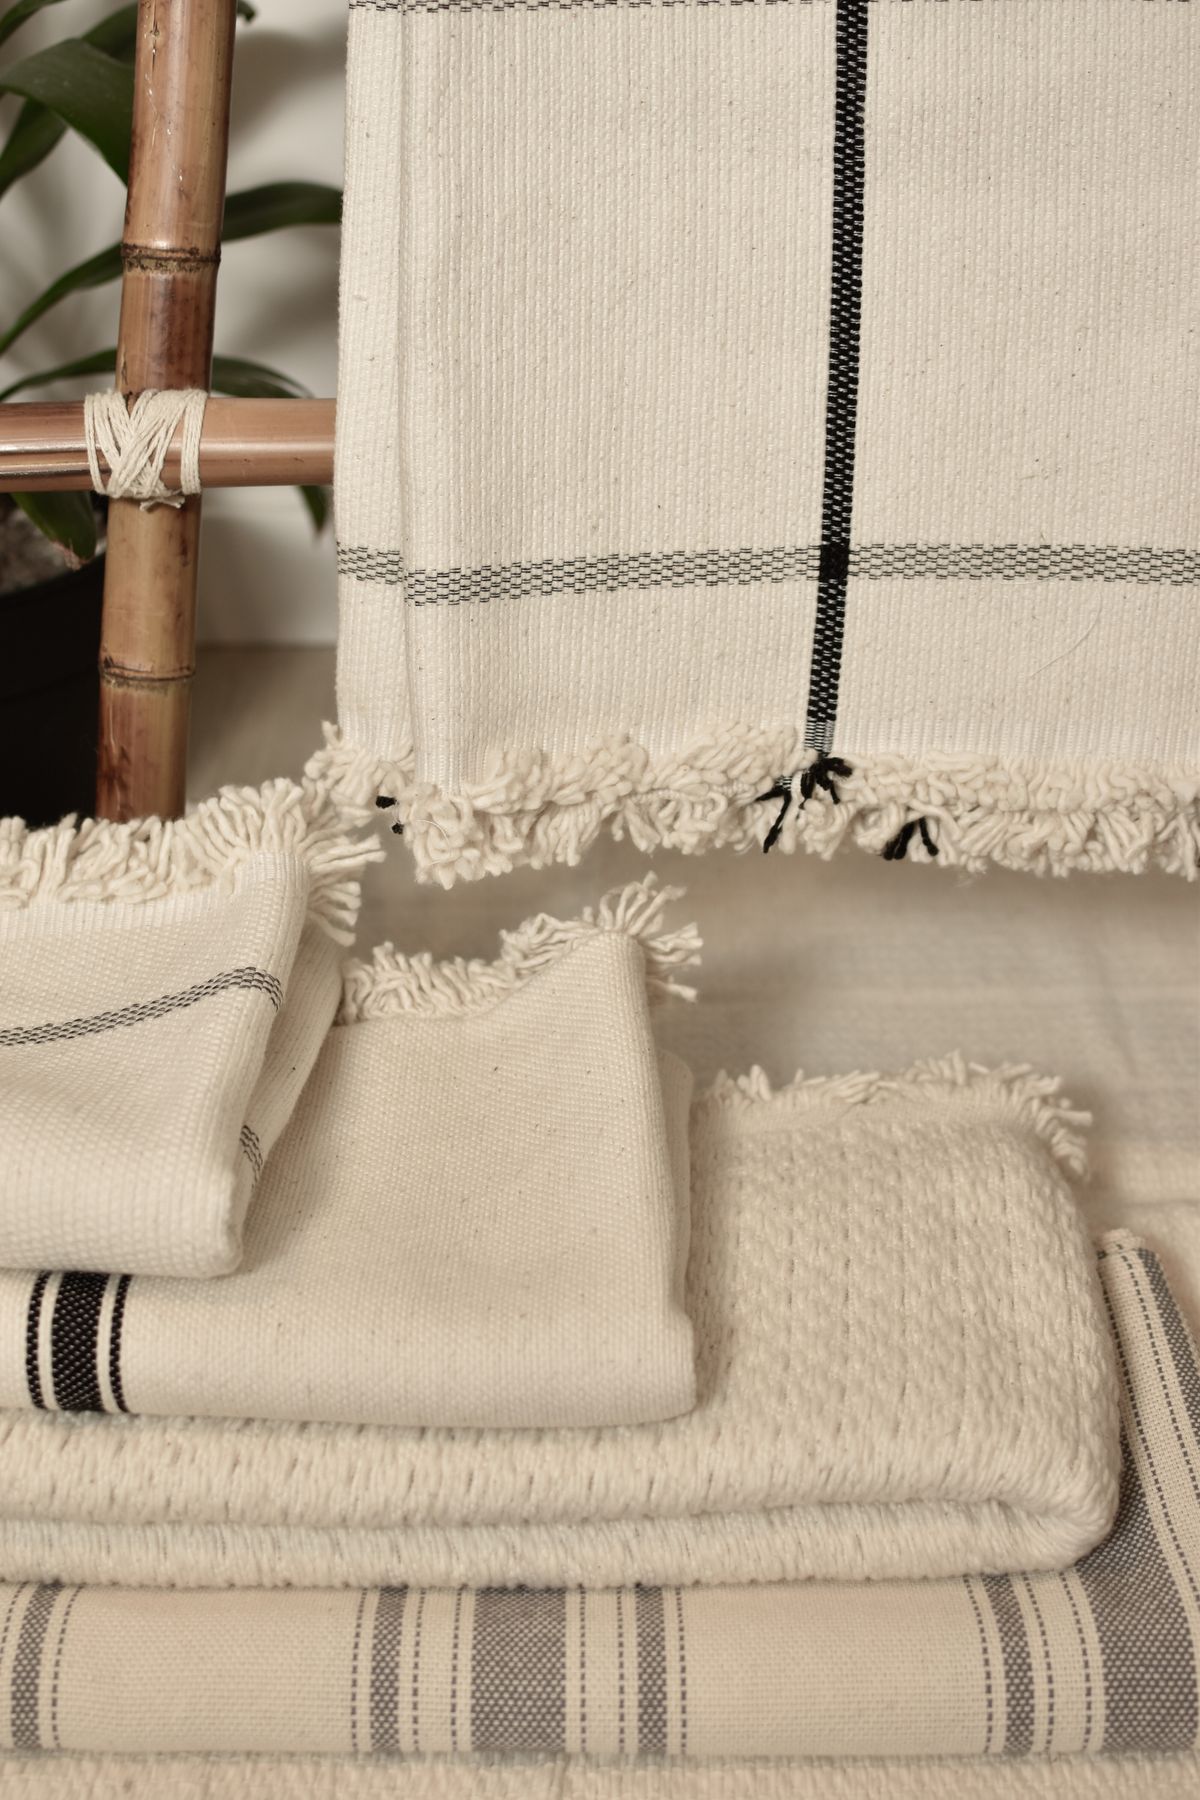
Use a detail view to inspect whether compression, lighting or enlargement has removed the surface information a customer needs.
Choose a few critical areas before reviewing the whole batch: a thin leg against the background, a logo, a seam, a handle and a patch of fine texture. Compare those areas in the actual delivered file and the storefront display. The purpose is to catch practical defects, not to reject a perfectly usable image because of an imperceptible pixel difference.
For a small image enlarged into a larger canvas, check whether the extra pixels contain useful detail or just smoothing. For an image with transparency, inspect the edge on its final background. A dark halo can be invisible in one preview and obvious against the store’s white page.
Keep file formats separate from image roles
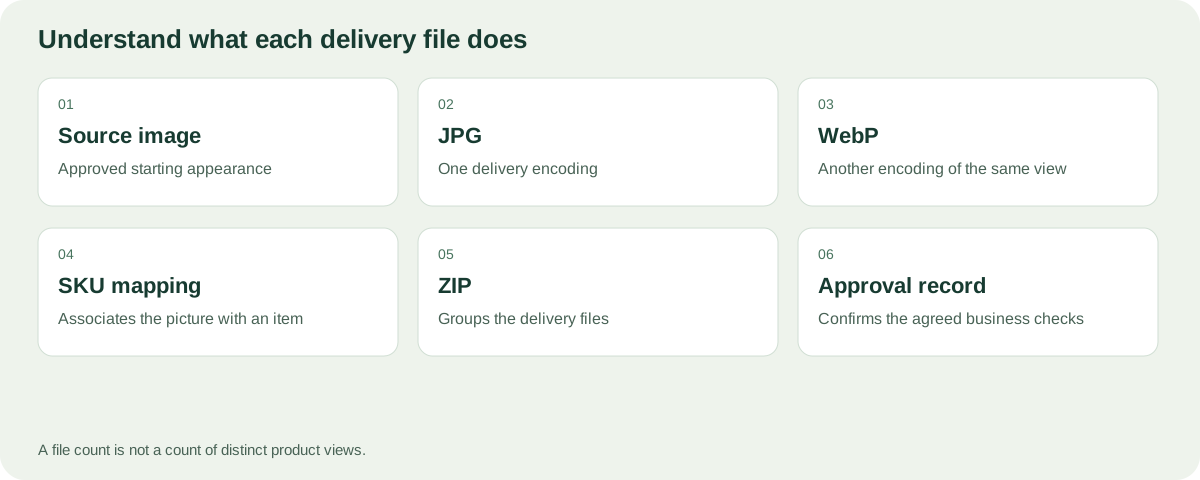
A main view, rear view and detail are three roles. JPG and WebP are encodings. A ZIP is a delivery container. A mapping file associates images with merchandise. None of those labels alone says whether the content is approved.
For example, a package containing one JPG, one WebP and one mapping file can be a complete single-view delivery if that was the brief. It is not a three-view product gallery. Reconcile the package with the requested shot list so a file count does not disguise missing coverage.
Decide what blocks release and what can wait
| Finding | Typical treatment | Who should decide |
|---|---|---|
| Wrong finish or product construction | Block release | Product or catalog owner |
| Wrong SKU-to-image mapping | Block affected placements | Ecommerce owner |
| Missing image required by the channel | Resolve before submitting there | Channel owner |
| Minor styling preference | Compare with the approved brief | Creative approver |
| Missing optional extra angle | Record gap and assess buying impact | Merchant or content owner |
Use the table as a decision framework, not a universal compliance standard. Define your own acceptance criteria before production. A critical part missing from the image cannot be waved through as a styling preference, but a late request for a different cushion arrangement may be a scope change rather than a defect.
Release and rollback without losing track
Record which approved files were uploaded, where they were used and who confirmed the storefront result. Keep a recoverable copy of the previous accepted set. If a defect is reported, identify whether it lies in the file, mapping or storefront behavior before replacing everything.
For a wrong variant, temporarily stop the affected placement or restore an accurate accepted image through the merchant’s normal workflow. Then correct the source record and downstream uses. Do not overwrite a disputed file with a new image while leaving no trace of what changed.
After the correction, repeat the failing test and record the result. The objective is a manageable release history, not paperwork for its own sake. A small catalog can use a simple register; a larger one needs a system that maintains the same identities and decisions consistently.
Write image text that helps the customer
Write alt text that describes what the image actually shows, such as “Oak dining chair with charcoal fabric seat, rear view.” Do not turn it into a list of repeated sales keywords. Place explanatory images beside the relevant text rather than in an unrelated image block.
Google’s image guidance discusses descriptive alt text, relevant surrounding content and accessible image delivery.[3] Those are sound publishing practices, not a guarantee of ranking. On a blog, captions should also distinguish photographs, illustrations and vendor case studies.
Keep the clean product view and any annotated explanation separate when the destination calls for different image treatments. Alt text helps describe the visible item; it does not fix incorrect SKU mapping or establish that a material matches the physical sample.
What a Rendora build result proves
For your first review, take one product with two similar finishes, open the final files and have another colleague reconcile them with the catalog without using the production chat. Record the exact file, finding, reviewer and decision. Repeat any failed check after correction. This is a review protocol, not a claim that an unspecified storefront test has already passed.
In the ecommerce tool, supported image-package operations can produce JPG/WebP files and SKU mapping information. That is a processing result. It does not prove physical product accuracy, give rights to the source image or publish the listing.
The current single-SKU interface also warns when a small source may be enlarged. Review sharpness rather than assuming a square export creates missing detail. Download and inspect the actual package before approval.
FAQs
What resolution should every product image use?
There is no single specification for all channels and placements. Set the destination requirements in the brief, retain a strong source and review current platform documentation.
Does a white canvas make an image marketplace compliant?
No. The image may still show the wrong item, contain prohibited overlays, lack detail or violate another destination rule. Review the whole requirement.
Should alt text contain my main keyword?
Only when it naturally describes the image. Accurate, helpful text is the priority; repeated keywords do not clarify what the shopper is looking at.
Can a successful ZIP download count as approval?
It proves that a file was delivered, not that its contents meet the business need. Extract it, inspect the pictures and reconcile the mapping before release.
Sources and notes
[1] Google Merchant Center: Image link. Requirements and effective dates must be checked for the intended launch.
[2] Shopify: Product media types.
[3] Google Search Central: Image SEO best practices.
About this guide
Rendora publishes practical guides to product configuration and asset delivery. This guide draws on the linked documentation and editorial analysis. Worked examples and review protocols are identified in the text.