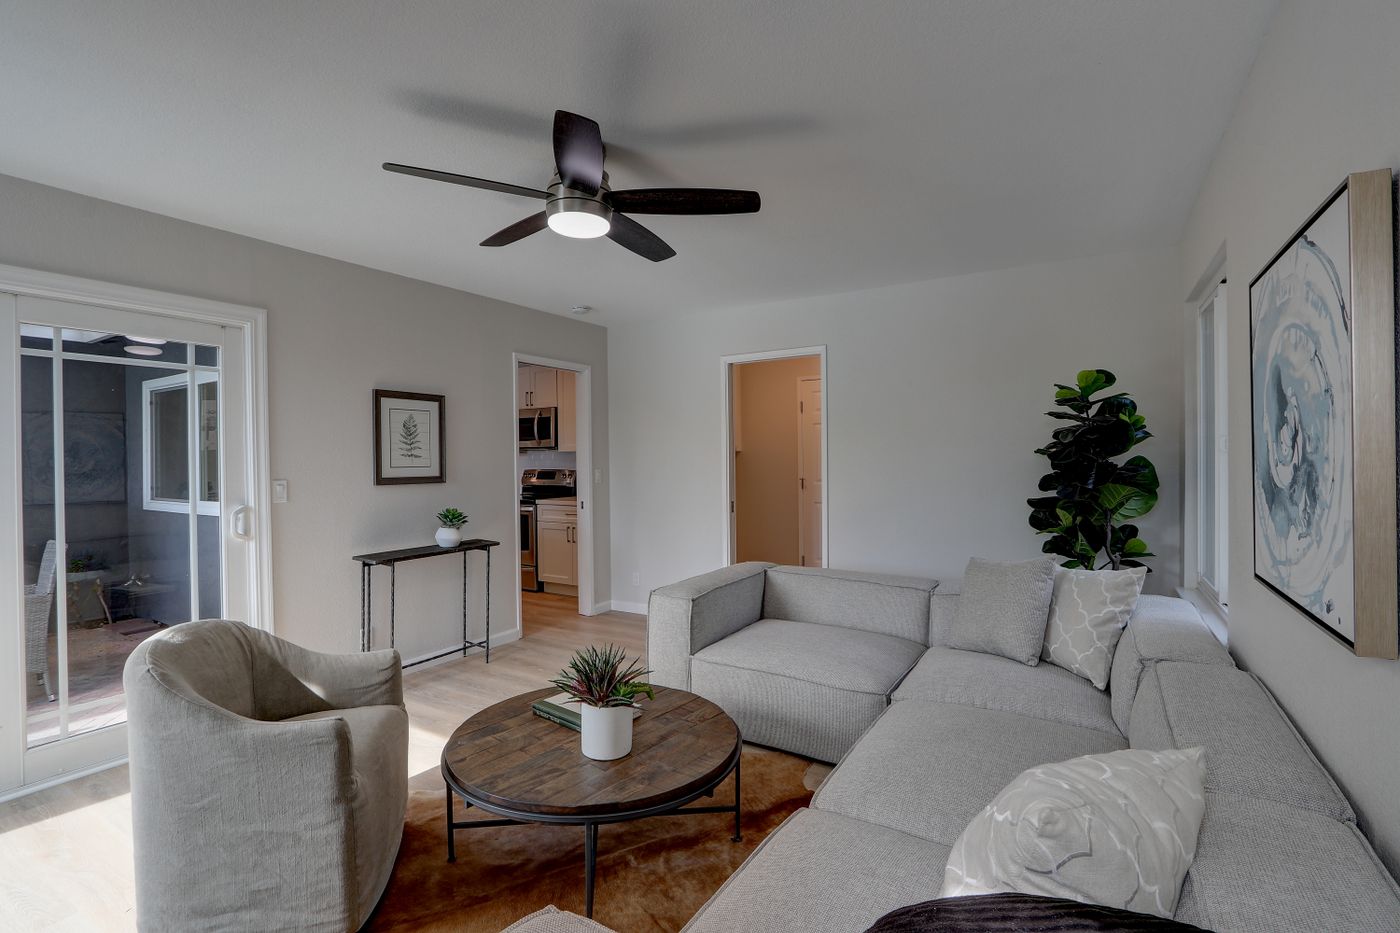
A sofa can look wonderful in a room photograph and still leave a buyer asking whether the back is finished, how deep the seat is or whether the ottoman comes with it. Those are gaps in the brief, not problems solved by another attractive angle.
A useful furniture image set explains the item, its construction, finish, scale and included parts. Start with the shopper’s unanswered questions, then commission photographs or renders that answer them. A beautiful room scene cannot replace a clear view of the furniture being sold.
This guide helps a furniture merchant brief a photographer, 3D supplier or internal content team. The goal is not to request every possible angle. It is to avoid paying for a set that looks polished but still leaves customers asking what the back looks like or whether the ottoman is included.
Start with one exact product
Record the product name, supplier identifier, SKU, dimensions and approved finish. Describe what the order includes. If the photo contains optional cushions, another chair or a decorative lamp, distinguish those props from the item for sale.
Ask whether the sample represents the current production version. A preproduction chair with a different seam or handle can create confusion even if photographed perfectly. Record differences before the shoot, not after the image is in advertising.
For modular furniture, choose the actual arrangement first. A three-seat sofa, corner sofa and sofa with a chaise are not merely different camera angles. They require their own configuration identity and accurate dimensions.
Choose shots by the buying question
| Buying question | Useful shot | What to check |
|---|---|---|
| What am I buying? | Clear main view | Product and included parts are unambiguous |
| Will its shape suit my room? | Front, side and rear as needed | Full silhouette; no hidden construction |
| What does the material look like? | Finish or upholstery close-up | Weave, grain, seams and direction |
| Will it fit? | Dimension illustration based on approved data | Measurement endpoints and units are clear |
| How does it work? | Open/closed or assembled detail | Actual mechanism and supplied parts |
| How might it look in use? | Lifestyle scene | Scale and styling do not misrepresent the item |
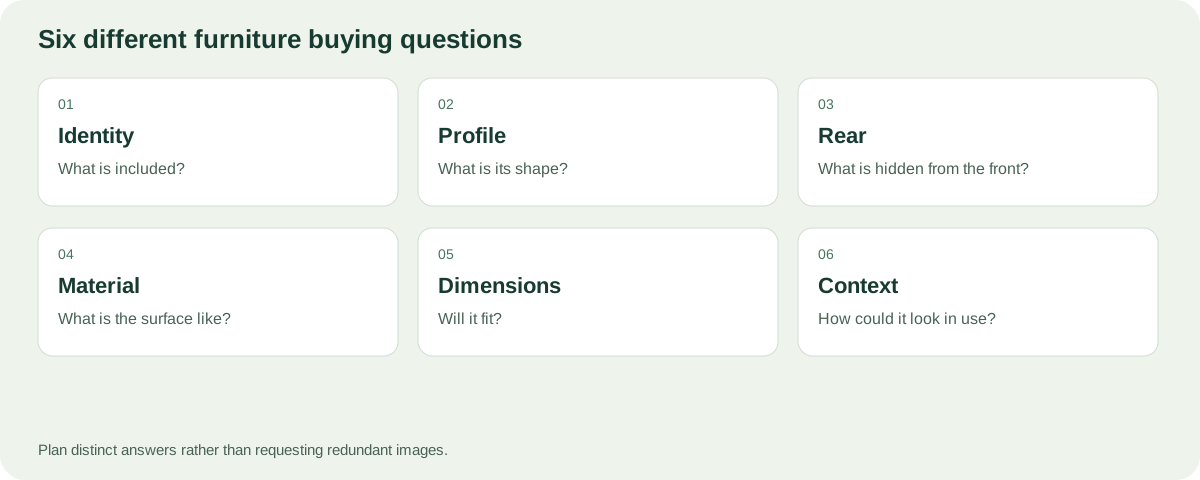
Each shot has a job. Agree that job before commissioning the full set.
Download the furniture shot list. Remove roles that do not apply. Add a shot only if it resolves a distinct buying uncertainty or channel requirement.
Separate a material reference from an atmospheric photograph
A warm room can make a neutral fabric appear yellow. Shadows can hide a seam. A close-up can make a fine texture look much coarser than it will at normal distance. These are reasons to request controlled references, not reasons to discard lifestyle photography.

A room scene explains context. A separate product view and material detail make it easier to judge the item itself.
Approve material appearance against the supplier reference and, where practical, the physical swatch. Include one close-up and one normal-distance view when texture influences the purchase. Specify the intended grain or weave direction. The writer or image editor should not infer those details from a room photograph alone.
For the rest of the catalog, keep the framing stable. See consistent color variant images for coordinating finishes without changing the product.
Build a useful sofa storyboard
For a sofa, begin with a main view that shows the complete sold configuration. Add a side view if depth or arm shape is important and a rear view if the back may be visible in the customer’s room. Use a detail to explain upholstery or stitching; use a separate dimension illustration to communicate measured size.
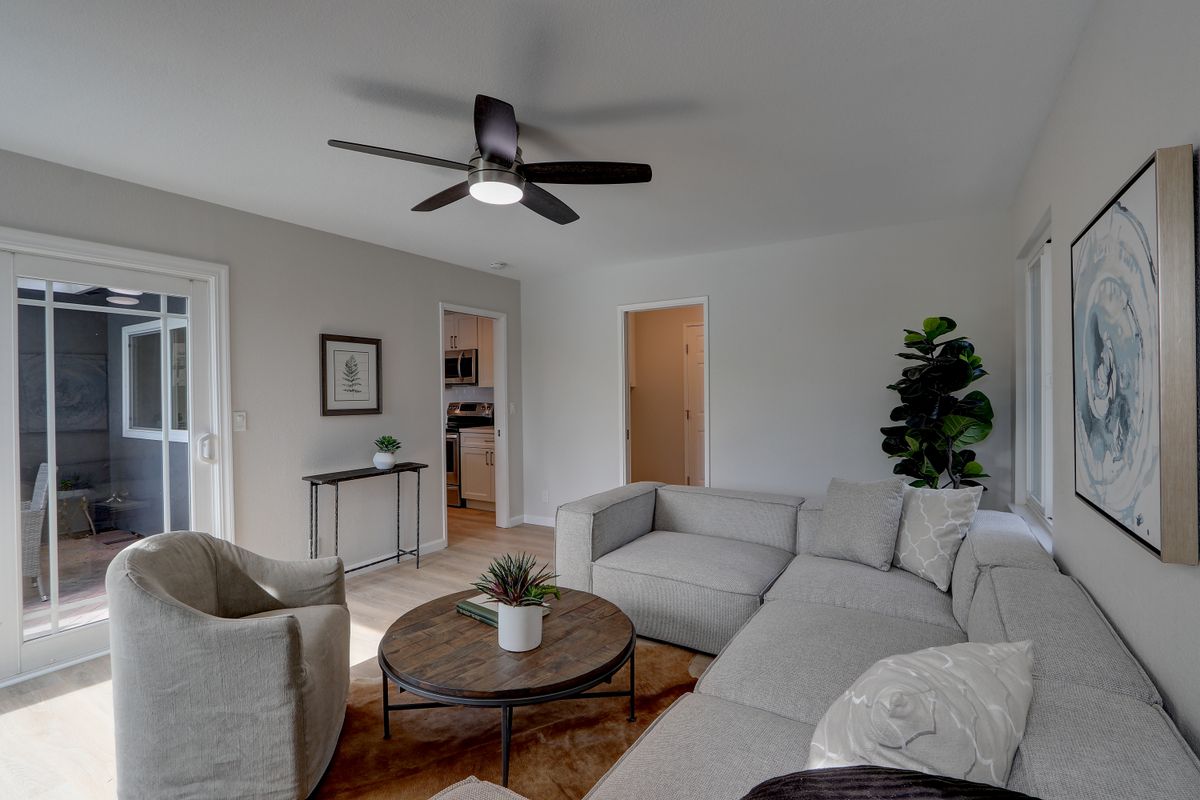
Lifestyle styling introduces furniture, accessories and lighting. The listing must still make the purchased configuration unmistakable.
Think about how the gallery reads in order. The first image identifies the offer. The following views answer concerns. A gallery that alternates between unrelated arrangements may make shoppers wonder whether an ottoman or extra seat is included. Put variant-specific views together and give each arrangement the right identity.
For a compact chair, a back detail may matter more than a room overview. For a dining table, edge profile and leg clearance may be useful. The storyboard should follow the product, not an identical shot count imposed across every category.
Make fabric and construction visible
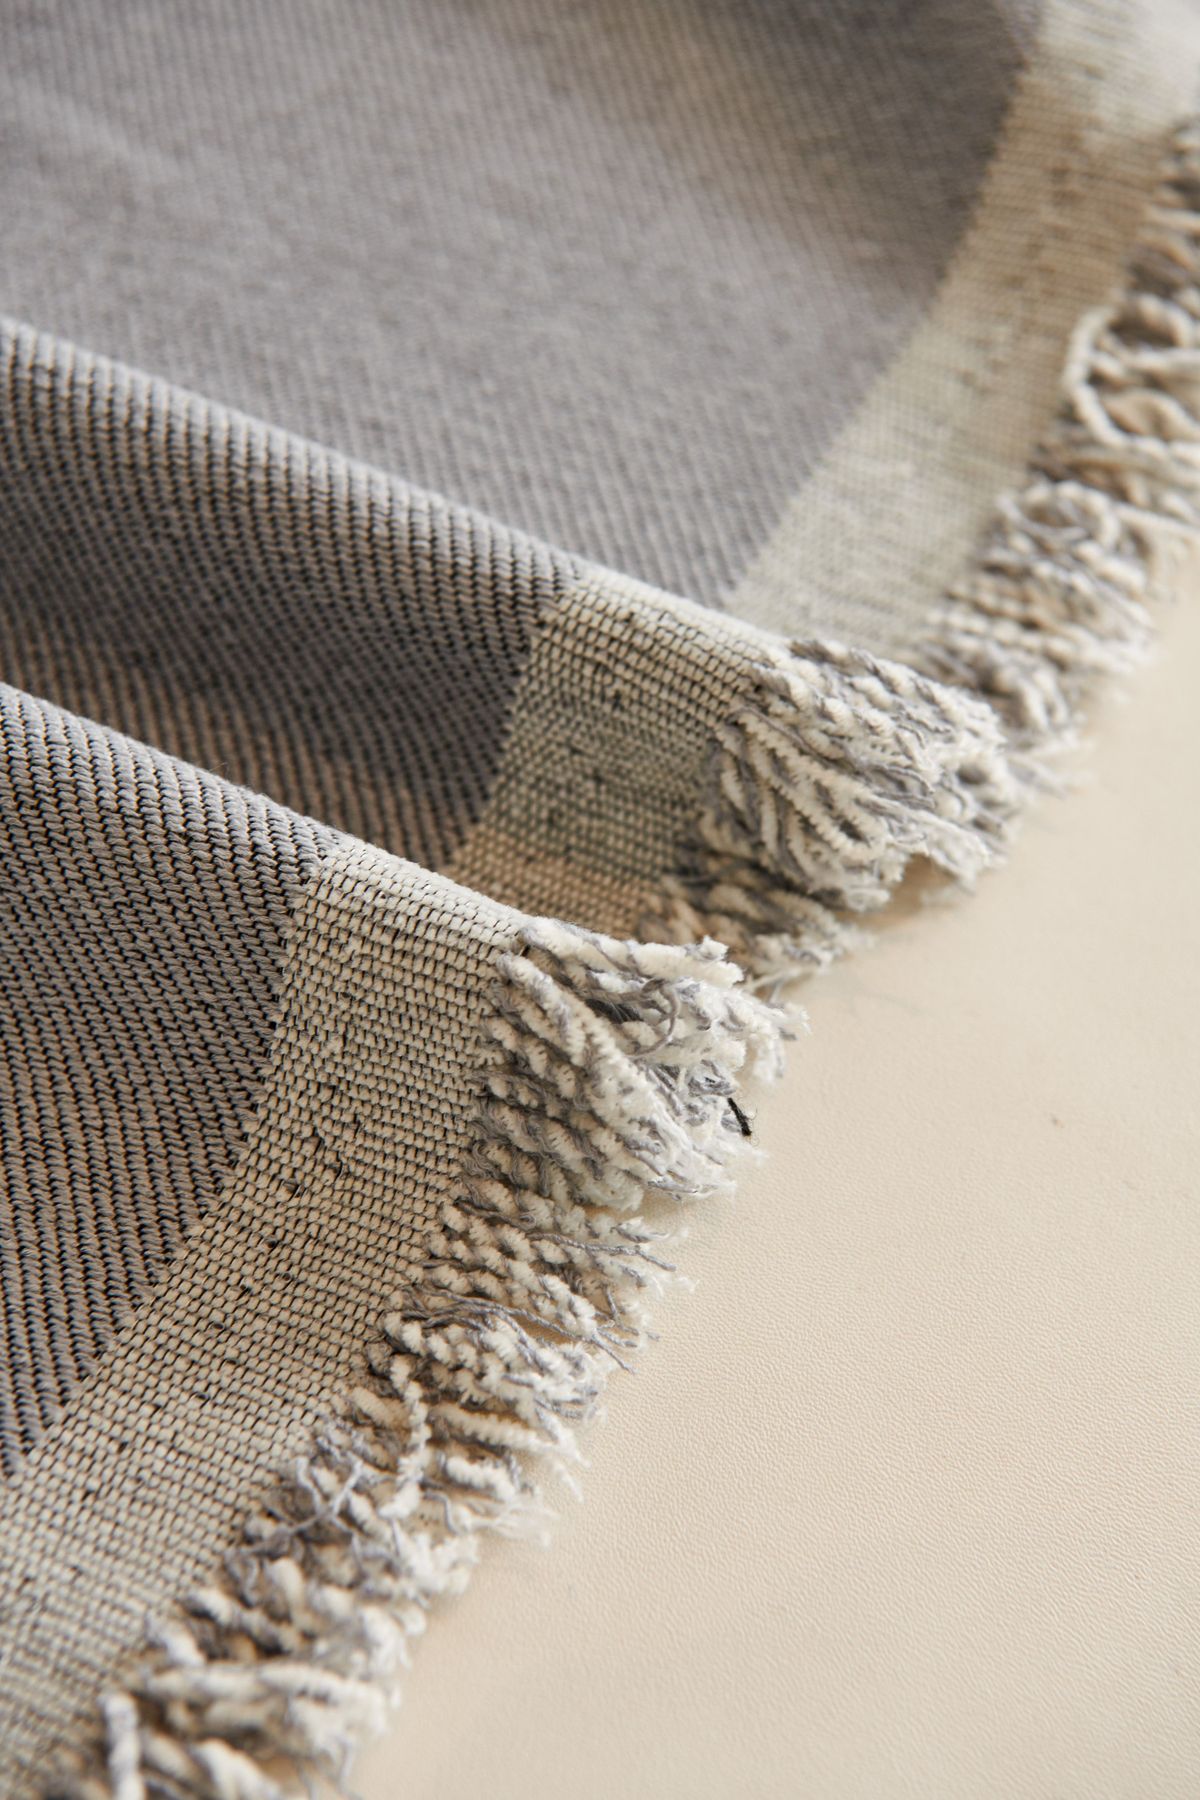
A close-up should show something a shopper cannot understand from the main image. Specify the seam, weave, joint, handle or edge to cover. Give the supplier enough surrounding context that the detail can be related to the whole product.
For reflective surfaces, ask for a sample view before the full session. A polished table leg may reflect its surroundings so strongly that two identical finishes look different. For pale upholstery, inspect whether highlights erase the weave. Do not solve these issues by changing the represented material to something easier to photograph.
If a dimension graphic includes a lifestyle view, keep its measurements anchored to approved endpoints. A perspective photograph should not imply that a decorative object provides a reliable scale reference. Put the actual width, depth and relevant clearances into the product information.
Keep your next product consistent with this one
Agree a reference for main camera height, product margin and background treatment. Use a separate framing rule for substantially different product sizes rather than shrinking every sofa to the same pixel height as an armchair.
Cylindo’s Sofacompany case illustrates why this matters: coordinating angles and lighting across photography was one of the brand’s reported production challenges.[3] The actionable lesson is to maintain a reusable visual brief, so each new product does not restart the debate about what the catalog should look like.
Before approving the supplier, review a second item alongside the first in a mock collection grid. Check whether they feel like one catalog without hiding real differences in size and construction. That test is often more revealing than reviewing each hero image alone on a large screen.
References to give the supplier
Provide the product from more than one side, construction details, dimensions, finish references and any assembly information relevant to the view. Identify anything a photograph cannot establish, such as a hidden bracket or the exact extended length of a mechanism.
Cylindo’s supplier-oriented product data guide asks for images and product information to support accurate modeling, including clarity about positions for furniture with moving parts.[1] This is a useful briefing principle: if you want a recliner shown open, the supplier needs evidence of that state. A closed-product photograph does not prove how it opens.
For a 3D route, use the model preparation checklist. For a photography route, agree sample condition, transport, assembly and who will check the product during the session.
Agree the review order
Review identity and construction before background styling. Otherwise the team can spend a correction round adjusting a rug while the wrong leg design remains in the picture.
Use three approvals:
- Product approval: geometry, included parts, mechanism and dimensions.
- Finish approval: material, color reference, seams and close-up detail.
- Presentation approval: camera, crop, background, shadow and delivery format.
If something changes after approval, name the affected images. A replaced fabric affects more than one hero shot; a new camera crop may not require reapproving the construction. Keep those decisions in the delivery register.
Ask for a usable handoff
Make the commercial scope as explicit as the shot list. Record who pays for transport, assembly, props and a replacement sample; how many correction rounds are included; and which channels and usage periods the image rights cover. For renders, ask separately about modeling, material preparation, room scenes and editable files. A supplier should be able to distinguish a missing agreed rear view from an extra angle requested after approval.
Request a high-quality retained source, destination-ready files, SKU mapping and an image-role list. Establish usage rights and whether editable source files are part of the agreement. “All images delivered” does not necessarily mean the underlying scene or model is included.
Do not put every label into the image itself. Keep a clean product image where the destination requires one, and create a separate dimension or feature illustration when needed. For Google Merchant Center’s main image, check its restrictions on promotional overlays rather than repurposing an advertising graphic.[2]
Review the release checklist before sending the final set to whoever manages the store.
Where Rendora can help
Use the ecommerce tool to package supported approved photos or matched component image layers with SKU information. A single photograph does not become an accurate rear view, a dimensioned drawing or a complete furniture configuration merely because it was uploaded.
Prepare the references and required views first. Then evaluate the actual supported output rather than assuming a saved brief has completed photography, modeling or rendering on your behalf.
FAQs
How many images does each furniture item need?
There is no universal count. Cover identity, relevant unseen surfaces, finish, dimensions and operation where applicable. Remove redundant angles rather than chasing a number.
Can a lifestyle image be my only product image?
It can leave important details unclear. Include a view that identifies the exact product and configuration independently of the room styling.
Can dimensions be estimated from the photograph?
Do not use an estimate as authoritative product data. Obtain approved measurements and specify where each measurement starts and ends.
What if the sample finish differs from the launch finish?
Record the difference and obtain the correct reference. Any edited candidate needs product-owner approval; it should not quietly become the catalog truth.
Sources and notes
[1] Cylindo: Product Data Guide. Supplier reference requirements; not a promise of services included in Rendora.
[2] Google Merchant Center: Image link. Consult the destination's current main-image requirements.
[3] Cylindo: Sofacompany case study.
About this guide
Rendora publishes practical guides to product configuration and asset delivery. This guide draws on the linked documentation and editorial analysis. Worked examples and review protocols are identified in the text.