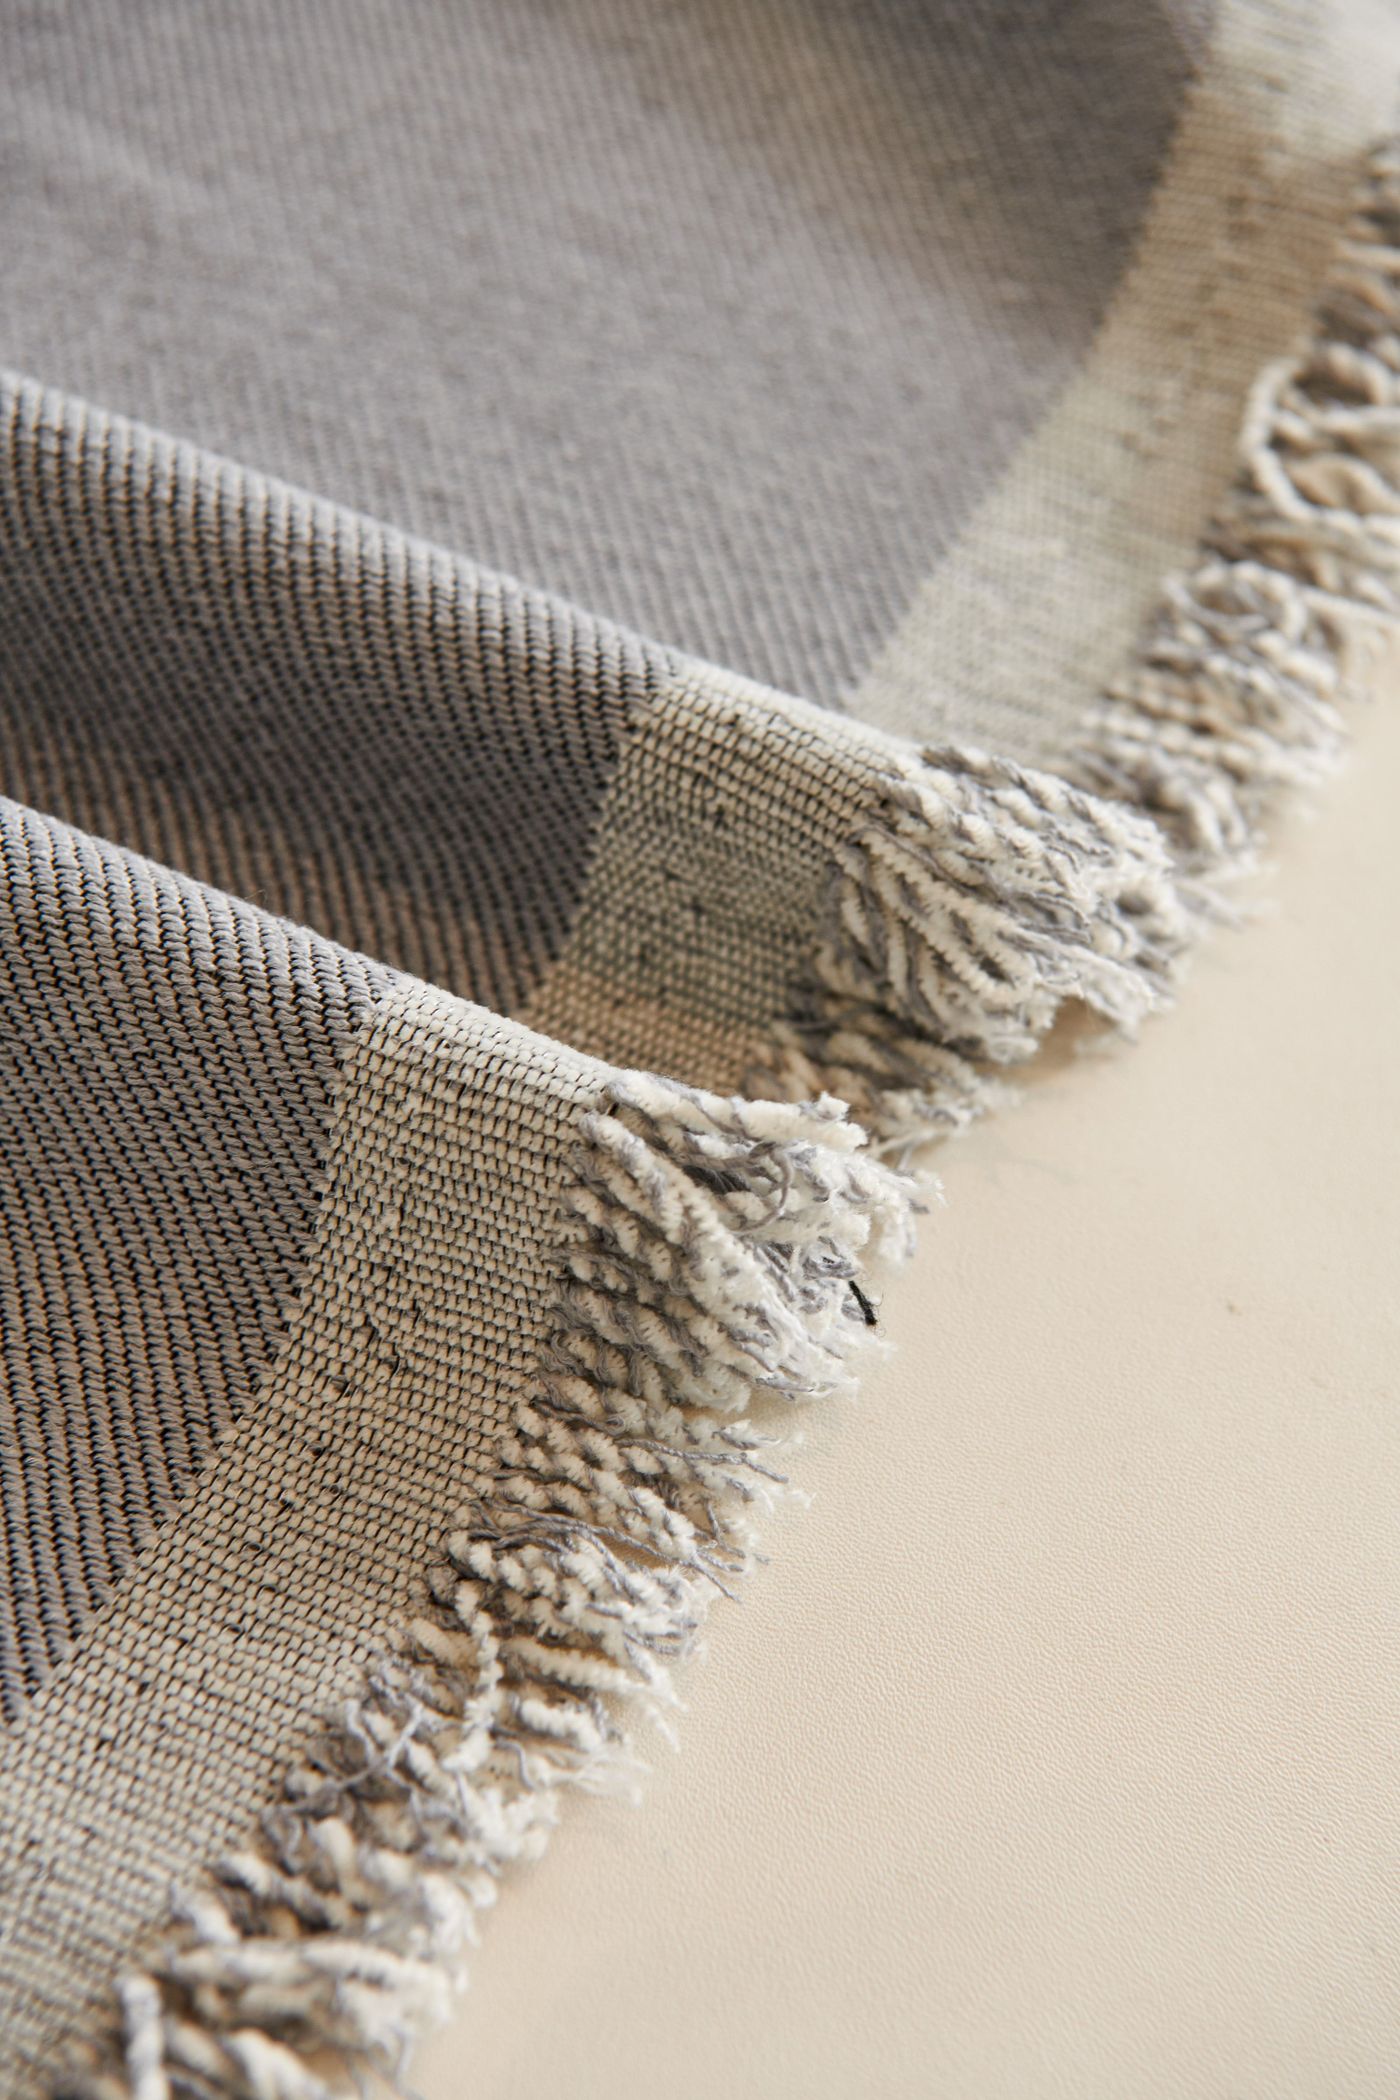
The supplier has delivered a chair model. Marketing needs listing pictures next week. Between those two facts sit the decisions that determine whether the pictures will be usable: which finishes, which views, what material reference and who can approve the result.
Start with an approved model, define the sellable configuration, set a repeatable camera and lighting recipe, render a sample, then approve and export the requested views. A file that opens successfully is not yet an accurate listing image. Material references, SKU identity and image requirements are part of the job.
This guide is for a merchant or content team with a supplier model and a launch to prepare. You do not need to program a renderer. You do need to decide which product the picture represents and what the shopper must be able to see.
First, decide which images you need
Write a small delivery brief before touching the model. “Make attractive pictures” leaves too many decisions until the review stage. Specify the product, approved finishes, required camera views, background, crop and destination.
| Image role | Question it should answer | Approval check |
|---|---|---|
| Main image | What exactly is being sold? | Correct configuration; no ambiguous accessories |
| Side or rear view | What cannot be seen from the front? | Same configuration and material as the main image |
| Material detail | What is the surface like? | Texture scale and direction agree with the reference |
| Dimension illustration | How much space does it require? | Measurements come from approved product data |
| Lifestyle image | How might it look in use? | Product remains unchanged and included items are clear |
Download the render brief. Start with a small set that answers distinct buying questions; more nearly identical angles do not automatically make a listing more useful.
Confirm the source is already suitable
Ask for the model, all associated textures, dimensions, material identifiers and a view of the real product. Confirm permission to create and publish derivative images. Check whether separate materials can be assigned to the parts you intend to change.
For example, changing a chair’s seat fabric while keeping its legs untouched requires those surfaces to be identifiable. If the supplied model has one flattened material image for everything, this may need preparation work before efficient variant production is possible.
Use the supplier handoff checklist if materials are missing or the model looks different after opening it. Stop and resolve the source instead of compensating with camera tricks.
Identify the item before setting the camera
Match your selected finish and components to one real sellable item. Write down its SKU or approved configuration identifier. A “blue” model is not specific enough when the catalog includes navy wool, blue velvet and a discontinued blue fabric.
Use the manufacturer’s material references to set the appearance. Do not promise exact physical color across every shopper’s display. The practical goal is a controlled, approved representation, supported by accurate names and physical swatches when appropriate.
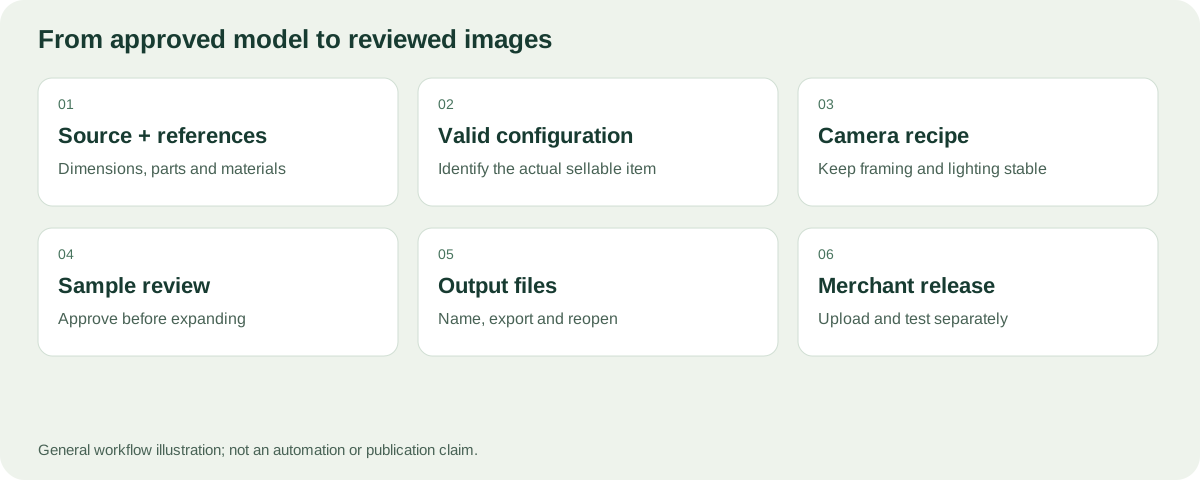
Approve the product configuration and sample before expanding to the full image set.
Establish a camera and lighting recipe you can reuse
For a catalog, consistency is often more useful than a different dramatic look for every item. Agree a camera direction, product placement, ground contact, background and margin. Record them so another team member can reproduce the view.
Render a front three-quarter view and compare the product’s apparent proportions with the reference. Look for overly wide perspectives that make the front legs large and the rear small. Review a close-up for seams and material details before approving the camera for the whole set.
If you need several angles, name them clearly. Keep camera views separate from the product’s color or component options. “Rear” describes an observation of the same product, not a different SKU.
A practical brief: two finishes, three useful views
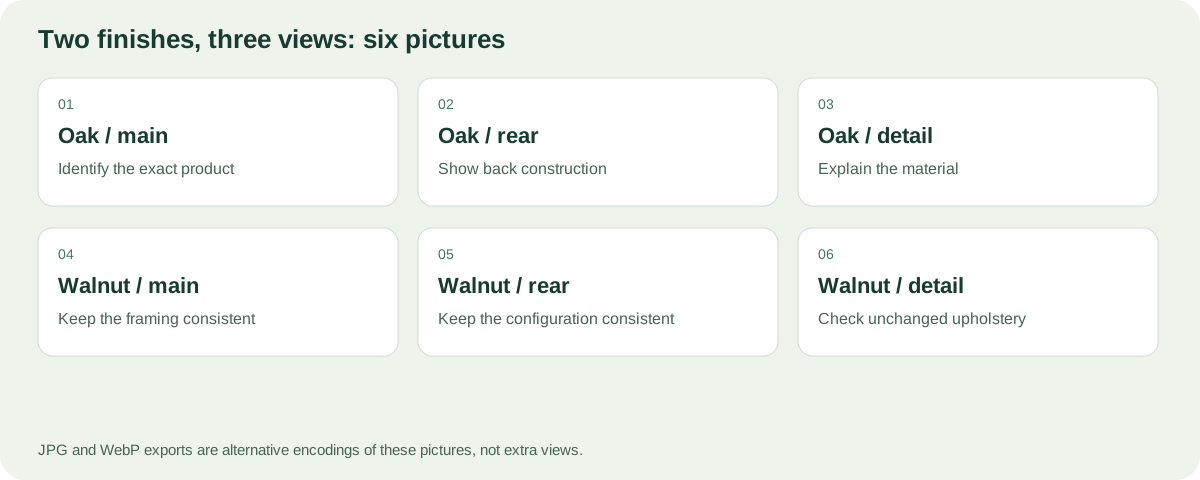
Consider a planning example: a dining chair is sold with oak or walnut legs, and the launch needs a main view, rear view and seat detail for each finish. The scope is six pictures. JPG and WebP exports of each picture are twelve files, not twelve different views.
Before work begins, fill in the oak and walnut material identifiers, the current chair revision and the two real merchant SKUs. Specify that the seat remains unchanged. Agree that the rear view should show the back construction, while the detail should explain the upholstery rather than crop out an arbitrary part of the frame.
Have the supplier submit the main view of both finishes first. Compare unchanged geometry and framing. If the oak chair appears wider, correct the camera or source setup now; do not carry that inconsistency into all six outputs. Then approve the other views against the same references.
This small approval order saves ambiguity, not a guaranteed number of hours. It also gives the team a useful reference when a third finish is introduced later.
Surface detail: what to inspect at normal size and close up
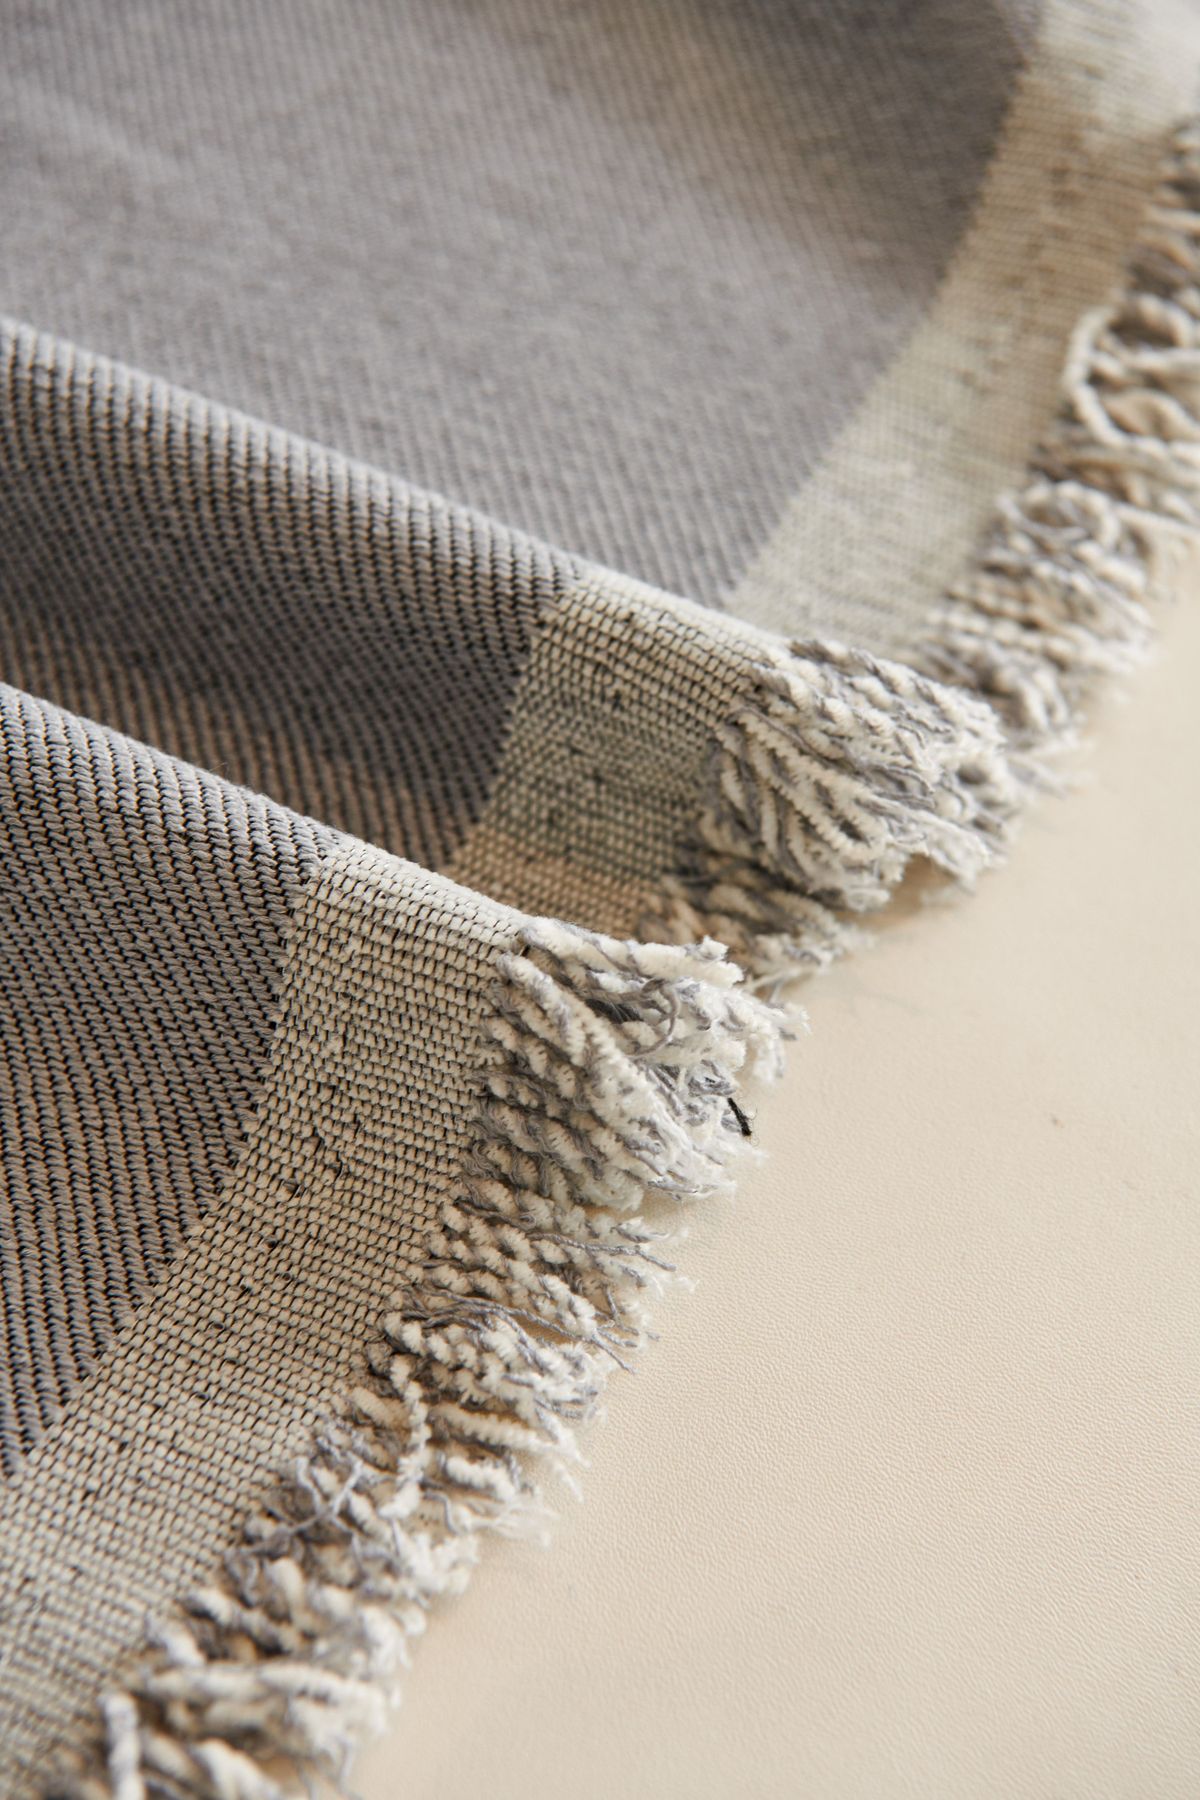
A material review needs more than a color name: check weave, direction, repeat size and edge treatment.
Look at the entire chair first. Does the fabric read as the intended surface, or does it look like painted plastic? Then inspect the detail view. Is the repeat size plausible, and do seams continue where they should? A high-resolution close-up that enlarges a tiny patch beyond any realistic product view can exaggerate the surface.
Agree what evidence resolves a dispute. If the render and a photograph disagree, compare with the approved sample or swatch under a controlled setup. Avoid a feedback cycle where different reviewers refer to different screens and different room photographs without a shared reference.
Fix the source problem rather than decorating around it
| What you see | Likely area to inspect | Useful correction request |
|---|---|---|
| Fabric looks too large | Texture mapping and reference scale | Match the supplied weave reference on the seat |
| Legs look different between finishes | Source geometry or camera | Reuse the approved geometry and camera |
| Product looks as though it floats | Placement, contact and lighting | Check the base position and contact shadow |
| Dark finish loses all detail | Lighting and output processing | Retain the finish while making construction readable |
| Preview looks good; downloaded file does not | Export and compression | Inspect the actual output preset and source resolution |
The table is a starting point, not a diagnosis from a picture alone. Ask the production team to identify the cause and provide a corrected sample. Keep approved construction untouched while adjusting presentation.
Approve one sample before expanding
Review geometry before spending time polishing lighting. Check component count, proportions, joins and visible construction. Then assess surface finish, texture size, reflections and shadows.
Give precise feedback: “The back panel is missing,” “the fabric repeat is too large,” or “the black leg finish should be matte.” Avoid open-ended comments such as “make it more premium,” which can result in the artist changing the product rather than its presentation.
Once approved, freeze the model and material references for the batch. If the supplier changes the source, identify which previously approved images must be rechecked. Do not silently combine old and new construction in one product gallery.
Define the paid deliverables before the final export
Ask whether the quote includes model preparation, white-background and lifestyle setups, texture matching, corrections and editable source handoff. A lighting correction within an agreed brief is different from replacing the chair’s back panel. Put each in the right scope before comparing prices. The photography-versus-rendering comparison includes an equivalent-scope budget method.
For the two-finish example, an acceptance record lists six distinct views, their delivery encodings, the approved source revision and outstanding corrections. Do not approve solely against a count of twelve files if the files repeat the same camera while missing the rear view.
Request a retained high-quality source plus destination-ready image files. Record pixel dimensions, crop and file naming. Shopify recommends consistent aspect ratios for featured images; its media documentation distinguishes image files from interactive 3D models.[1]
Avoid treating a platform’s maximum allowed size as the recommended weight for every image. Inspect the actual storefront at mobile and desktop sizes. Compression should reduce weight without erasing texture detail or creating a halo around the product.
Your delivery register should identify the product SKU, finish, camera view, approved source revision and file. See the color-variant guide for keeping these identities separate.
Reopen the files and test the listing
Download the finished package, extract it and open the images independently. Check the actual files, not only thumbnails in the production tool. Compare names against the register and inspect small details at normal viewing size and enlarged view.
On a store draft, confirm the first image, gallery order and behavior when selecting a different variant. Use the Shopify variant image guide where that is your channel. Publishing remains a separate acceptance step.
What Rendora currently does in this workflow
The ecommerce tool currently has an approved-photo path and an aligned-image-layer path for downloadable JPG/WebP and SKU mapping packages. In the latter, each option needs the matching supplied visual layer. This is image composition, not arbitrary 3D scene rendering or automatic generation of unseen camera angles.
If your source is a 3D model, arrange the required renders through a suitable rendering workflow before using these image-based delivery paths. A saved 3D source or media brief alone is not a completed render. Confirm the live interface’s supported processing before committing a production deadline.
FAQs
Can one model produce images of every finish?
Only when the relevant parts and materials are prepared and each represented finish is approved. Different construction or upholstery can require more than a color edit.
Can I get a rear image from a front render?
Not by ordinary image composition. You need suitable geometry and a new render, or another approved photograph. Inventing the hidden side is not product verification.
Are the 3D model and the rendered JPG interchangeable?
No. A JPG is a fixed image; an interactive model requires its own preparation and deployment. Choose the delivery that matches the customer’s task.
Does this workflow publish the product for me?
The Rendora image package does not automatically publish to a storefront. Upload, variant assignment and channel review still need to be completed.
Sources and notes
[1] Shopify: Product media types. Check the live documentation for destination requirements; this article is a production method, not platform approval.
About this guide
Rendora publishes practical guides to product configuration and asset delivery. This guide draws on the linked documentation and editorial analysis. Worked examples and review protocols are identified in the text.